CM3588 - Install FE Debian Bullseye Minimal to eMMC
A comprehensive guide to installing FriendlyElec Debian Bullseye Minimal on the CM3588's eMMC storage, including initial setup, user management, system updates, and configuration.
CM3588 - Install FE Debian Bullseye Minimal to eMMC
Overview
This guide will walk you through the process of installing FriendlyElec's version of Debian Bullseye Minimal onto the eMMC of a CM3588 using a MicroSD card. FriendlyElec maintains a few custom eflasher images for the CM3588, which are used to flash the eMMC storage. These images are handy as once the MicroSD card has been prepared and installed into the CM3588, the eMMC will be automatically flashed when the system is powered on.
This version comes with Debian 11 and the XFCE desktop environment with no pre-installed software by default. This is a lightweight and user-friendly desktop environment suitable for the CM3588. This makes it a good choice for users who want a graphical interface without the overhead of heavier desktop environments like GNOME or KDE.
Prerequisites
- A CM3588 (of course)
- A MicroSD card (at least 16GB recommended)
- A MicroSD card reader (if your PC does not have a slot)
- The OS image you wish to install (in this case, FriendlyElec's Debian Bullseye Minimal)
Download the Debian Image
Navigate to the FriendlyElec wiki and click the download link.

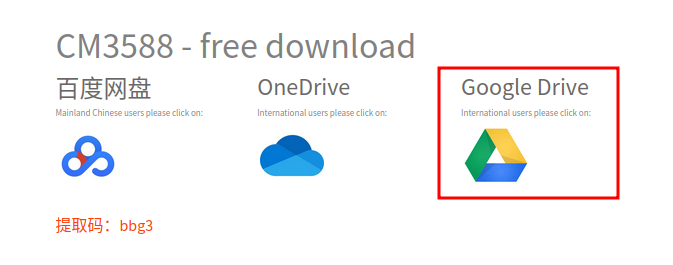
Then select the Google Drive
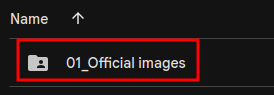
Select 01_Official images
Debian will be installed to the eMMC of the CM3588, so select 02_SD-to-eMMC images.
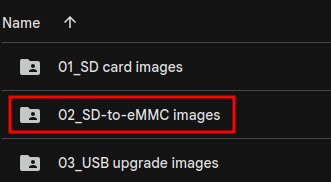
There are a lot of images listed here, however this guide is specifically for rk3588-eflasher-debain-bullseye-minimal-6.1-arm64.img.gz.

Flash the Image
Now that the image has been downloaded, you will need to flash it to a MicroSD card. You can prepare the MicroSD card using either Ubuntu or Windows depending on your operating system.
Flash the eMMC
Note: If you have a monitor hooked up to the CM3588, note that 1 of the HDMI ports is an input, and 2 are outputs. To be sure you are using an output, use the middle port. Otherwise you may get a black screen on boot.
Flashing the eMMC on the CM3588 happens automatically when the system is powered on. With the system powered off, simply insert the MicroSD card into the CM3588 and power it on. The system will automatically detect the MicroSD card and begin flashing the eMMC.
Once complete, the system will prompt you to shut it down. I typically do not even attach a keyboard and just hit the power button to turn it off as I manage nearly everything over SSH after the installation.
Important: After the system is powered off, remove the MicroSD card before you power it back on. The system should now boot from the eMMC. If you do not remove the Micro SD card, the system will boot and flash the eMMC storage again.
First boot
I typically SSH into the system on the first boot as it is easier to copy and paste commands over the terminal from my main PC. The instructions may be slightly different if you plug directly into the system with a keyboard and monitor.
Find the IP address of the system. This can be done by logging into your router and checking the DHCP leases. Look for the CM3588 label, here is an example of what it looks like on my router:
Once you have the IP address, SSH into the system using the default username and password:
ssh pi@<ip_address>The default password is pi.
Pro tip: I use an application called Termius for SSH, which is available on Windows, Mac, Linux, iOS, and Android. It is a great application that allows you to save your SSH connections and easily manage them.
User Management
I am partial to my usernames and hostnames, so the first thing I do is create a new user and put it in the sudo group. This can be done with the following command:
sudo adduser <username>You will be prompted to enter a password for the new user, as well as some additional information (which can be left blank).
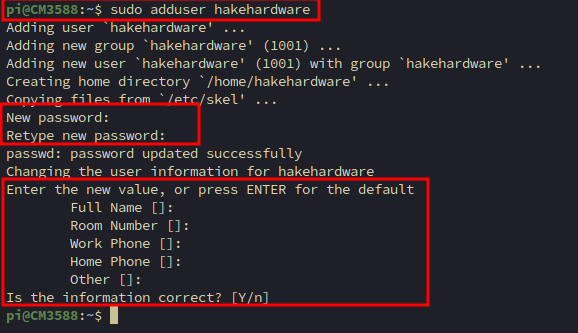
Next, add the new user to the sudo group:
sudo usermod -aG sudo <username>This will allow the new user to execute commands with superuser privileges. You can now log out of the pi user and log into the new user that was created. Once logged in, you can optionally delete the pi user as it is no longer needed. First, stop all their current processes:
sudo pkill -u piThen delete the user:
sudo deluser --remove-home pi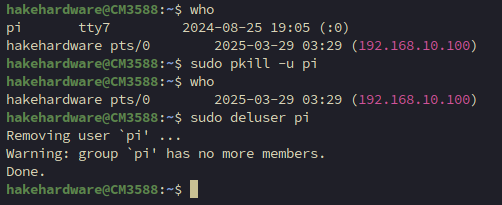
This will remove the pi user from the system.
Once logged back in, it might also be a good idea to update the root password:
sudo passwd rootYou will be prompted to enter a new password for the root user.
Update Sources
By default FriendlyElec does not use the official repos for Debian. Instead, it uses a custom repository. First backup the old sources list
sudo mv /etc/apt/sources.list /etc/apt/sources.list.oldThen create a new sources list file. Nano is not installed so we will use vi (so hacker).
sudo vi /etc/apt/sources.listPress i to enter insert mode, then paste in the following sources. You can use Ctrl + Shift + V to paste in the terminal. If you are using a different terminal, you may need to use Shift + Insert or right click and select paste.
deb http://deb.debian.org/debian bullseye main contrib non-free
deb http://security.debian.org/debian-security bullseye-security main contrib non-free
deb http://deb.debian.org/debian bullseye-updates main contrib non-freeNow press Esc to exit insert mode, then type :wq and press Enter to save and exit the file.
This will set your system to use the official Debian repositories for updates and package installations. This will likely be much faster for updates.
Update the system
Next, update the system to ensure you have the latest packages and security updates. Run the following commands:
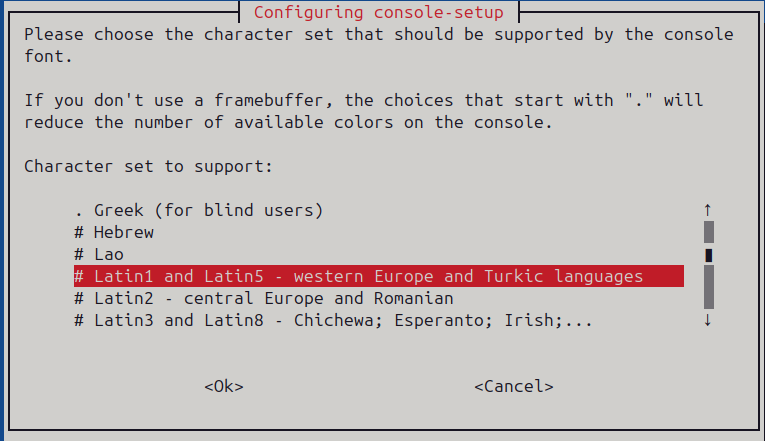
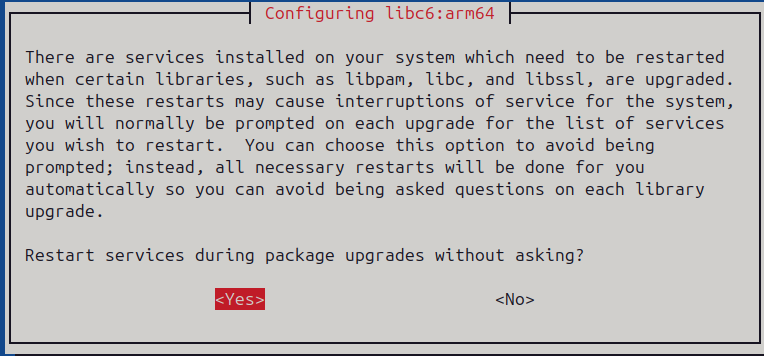
sudo apt update && sudo apt upgrade -yThis will update the package list and upgrade all installed packages to their latest versions. You may or may not get the below prompts
Prompt for console-setup: I typically choose Latin1 and Latin5.
Restart services during package upgrades without asking: Yes
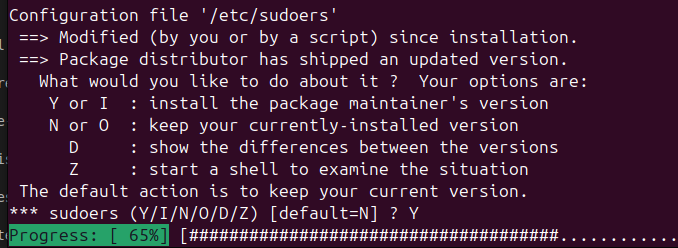
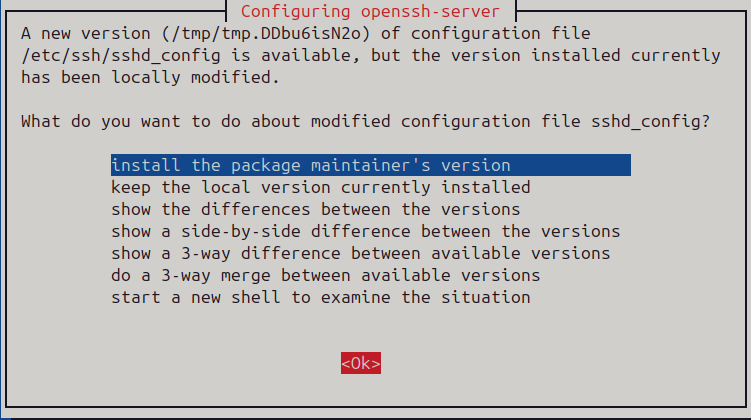
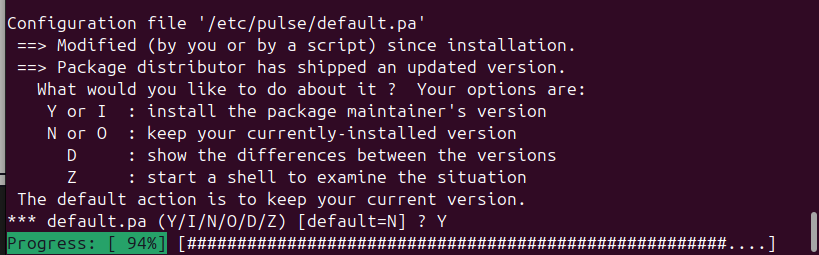
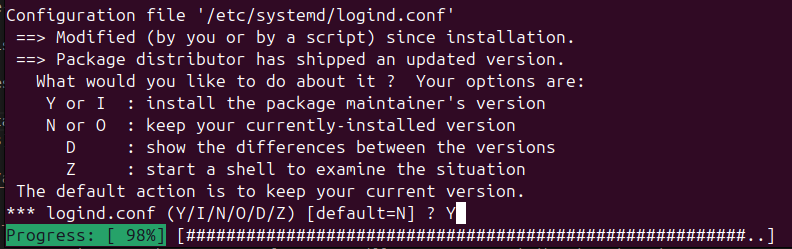
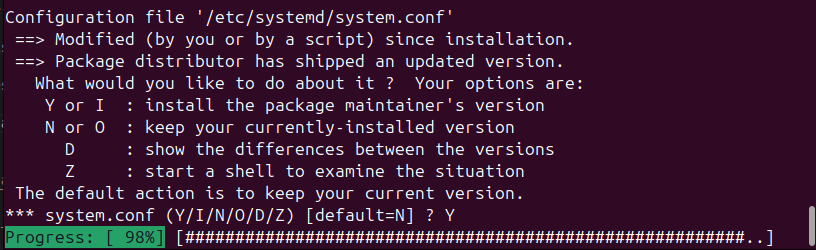
There will be multiple prompts regarding keeping existing configuration files or replacing them with the package maintainer's version. I always choose Y
Reboot once the updates are complete with
sudo reboot nowInstall Additional Packages
After updating the system, you may want to install some additional packages that are commonly used. Here are a few suggestions:
sudo apt install -y htop iftop nmap nano tmux- htop - Interactive system monitor (better top), great for viewing CPU, memory, and process usage.
- iftop - Real-time bandwidth monitor for network interfaces. Think htop for network traffic.
- nmap - Network scanning and security auditing tool. Great for discovering devices and services on a network.
- nano - A simple and user-friendly text editor for the command line. It's a good alternative to
viif you're not familiar with it. - tmux - Terminal multiplexer that allows you to manage multiple terminal sessions from a single window. This is especially useful for managing long-running processes or multiple SSH sessions.
Clean Up Packages
After installing and updating packages, it's a good idea to clean up any unnecessary packages that are no longer needed. You can do this by running:
sudo apt autoremove -yThis command will remove any packages that were automatically installed to satisfy dependencies for other packages and are now no longer needed. This helps to keep your system clean and free up disk space.
Hostname
The default hostname for the FriendlyElec Debian image is CM3588. You can change this to something more meaningful for your setup. Update the hosts file by finding the entry for CM3588 and changing it to your desired hostname
sudo nano /etc/hosts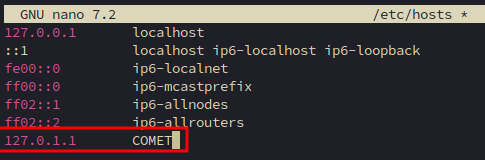
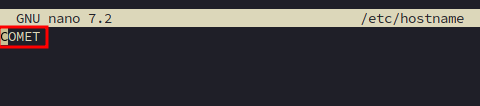
Finally, update the hostname file to match your desired hostname:
sudo nano /etc/hostnameThis file should only contain the hostname, so update it to your desired hostname.
After making these changes, you will need to reboot the system for the changes to take effect:
sudo reboot nowPrevent Auto-Login
By default, the FriendlyElec Debian image will have auto-login enabled for the pi user. Since we have removed the pi user, this can cause issues. To prevent auto-login, you can edit the lightdm configuration file:
sudo nano /etc/lightdm/lightdm.confIn the [Seat:*] section, ensure that the autologin-user line is either removed or commented out. Change
autologin-user=pi
autologin-user-timeout=0to
# autologin-user=pi
# autologin-user-timeout=0Alternately if you are using the desktop environment and want to keep auto-login, you can set the autologin-user to your new username instead of pi.
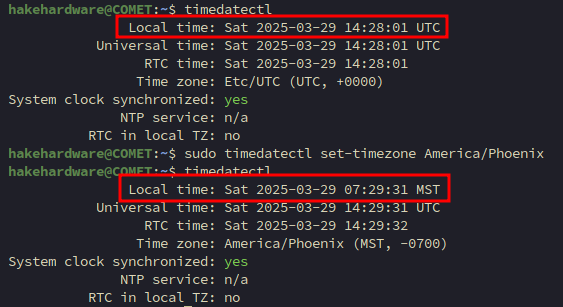
Set Timezone and Locales
By default the timezone will be UTC. It is best to set the local timezone, if you are unsure what to choose list the possible timezones
sudo timedatectl list-timezonesYou can scroll through the list or search for your timezone. For example, if you are in New York, you would look for America/New_York. Once you find your timezone, set it with:
sudo timedatectl set-timezone America/New_YorkThis will set the system timezone to your local timezone. You can verify the change by running:
timedatectlThis will display the current system time, timezone, and other related information. You should see your new timezone reflected in the output.
Next, set the locales for bash. This will ensure that the system uses the correct locale settings for things like date and time formatting, currency, and language. You can do this by running:
sudo dpkg-reconfigure localesThis command will open a dialog where you can select the locales you want to generate. You can use the arrow keys to navigate and the spacebar to select or deselect options.
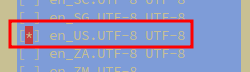
In the dialog, you will see a list of available locales. You can select multiple locales if needed, but for most users, selecting your local locale (e.g., en_US.UTF-8) should be sufficient. Once you have made your selection, press Enter to continue.
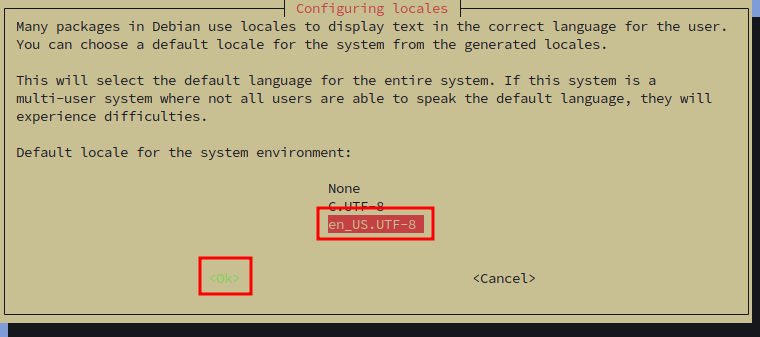
After selecting the desired locales, you will be prompted to choose the default locale for the system. This is the locale that will be used by default for things like date and time formatting. Again, use the arrow keys to select your preferred option and press Enter to continue.
Once you have completed the configuration, the system will generate the selected locales. This may take a few moments, depending on the number of locales you selected and the speed of your system. For the changes to take effect, you may need to restart your terminal session or log out and log back in. You can also reboot the system to ensure that all services are using the new locale settings.
You can verify that the locales have been set correctly by running:
locale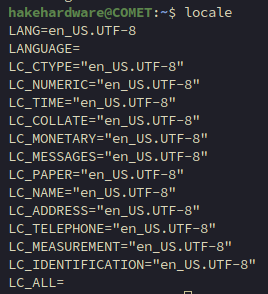
Conclusion
Congratulations! You have successfully installed FriendlyElec's version of Debian onto the eMMC of your CM3588. This guide walked you through the process of flashing the image, updating the system, installing additional packages, and configuring the hostname and locales. Your system should now be ready for further customization and use.