NGINX Proxy Manager [Helper Script]
A comprehensive guide to setting up NGINX Proxy Manager on Proxmox using Helper Scripts.
Proxmox - Install NGINX Proxy Manager [Helper Script]
Overview
This wiki covers how to install NGINX Proxy Manager on Proxmox using Helper Scripts. NGINX Proxy Manager is a great tool for managing your reverse proxy and SSL certificates with a user-friendly web interface.
Warning: Always be cautious when running scripts from the internet. Review the code and understand what it does before executing it on your system. That being said, ProxmoxVE Helper Scripts are widely used and trusted by the community.
Pre-requisites
There needs to be some way to resolve the domains to the IP address of the service. This can be done by either using a local DNS server (like Pi-hole) or by editing the hosts file on your local machine. Some routers allow creating DNS entries, but Pi-hole is a great solution since it can also block ads and trackers.
Installation
Navigate to ProxmoxVE Helper Scripts NGINX Proxy Manager page and copy the script to your clipboard.

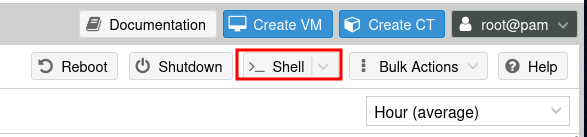
Then open up the Proxmox web interface, and click the Shell button on the top right corner.
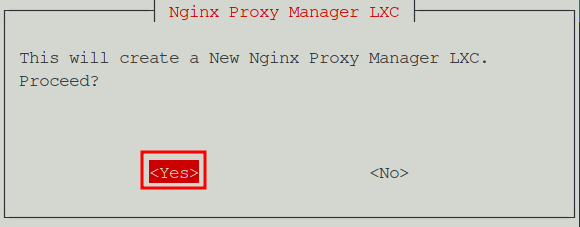
Paste the script into the shell and hit Enter. This will download and launch the script on your Proxmox server. When prompted, select Yes to proceed with the installation.
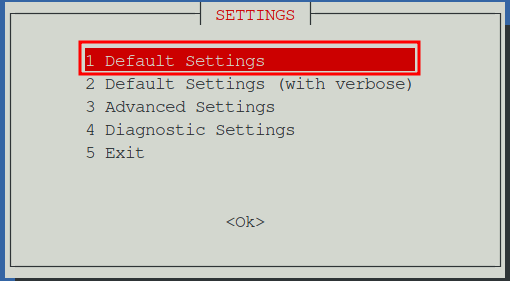
There are a few options to choose from for the installation process. Generally speaking the default settings are fine, however if you prefer to manually set the resources assigned to the container, select the option for Advanced Settings. This guide will use the Default Settings option. Pressing Tab will move the selection to the OK button, then hit Enter to proceed.
The script will begin the container deployment process. This may take a few minutes depending on your server's resources and network speed as various updates and dependencies are automatically applied. There may be a prompt to install an older version, hit Enter to proceed with the latest version.
You should receive a message once the installation is complete. The script will also provide you with the URL to access the NGINX Proxy Manager web interface.

Login
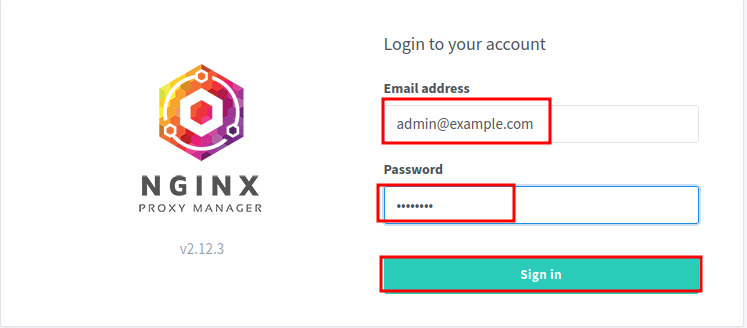
The default credentials for the NGINX Proxy Manager are located on the Proxmox VE Helper Scripts page
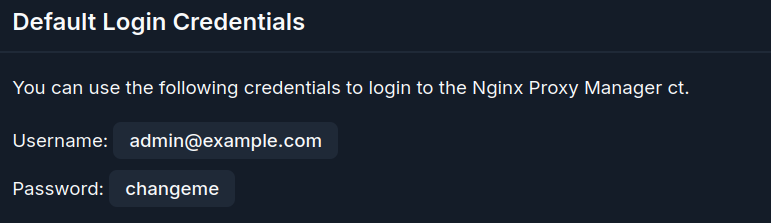
Login in with the provided credentials
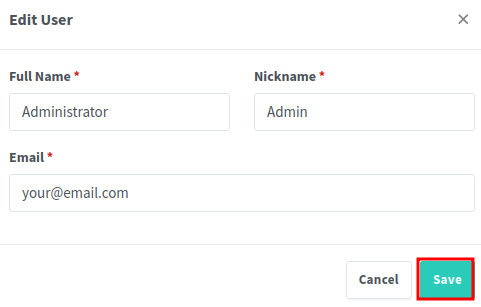
Edit the user information to your liking
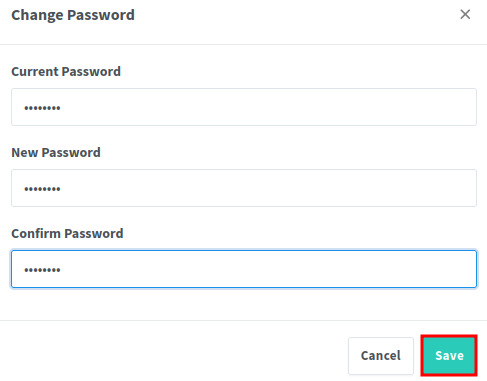
Update the password to something more secure
First Proxy
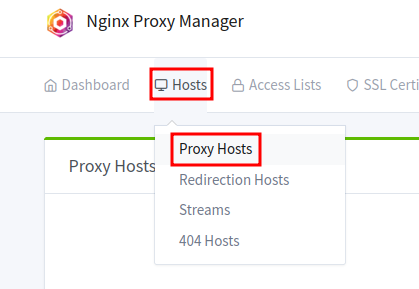
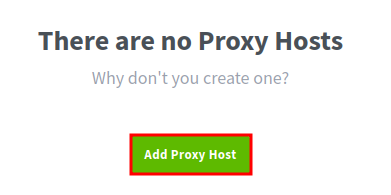
To create your first proxy, click on the Hosts tab and then select Proxy Host in the NGINX Proxy Manager web interface.
Then click the Add Proxy button.
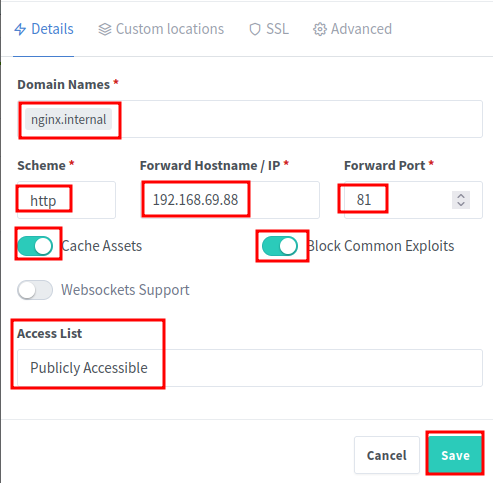
In this example, we will set up a proxy for Nginx Proxy Manager itself. Enter the following information:
- Domain Names: Enter the domain name you want to use for the proxy. For example,
nginx.internal. Make sure to clickAddto add the domain name to the list. - Scheme: Select
httporhttpsdepending on your backend service. For NGINX Proxy Manager, selecthttp. - Forward Hostname / IP: Enter the IP address of the VM running Nginx Proxy Manager. This is usually the same IP address as the Proxmox server.
- Forward Port: Enter
81for the port number, as this is the default port for NGINX Proxy Manager. - Cache Assets: Check this option to enable caching for static assets. This can improve performance for frequently accessed resources.
- Block Common Exploits: Check this option to enable security features that block common exploits.
- Websocket Support: Check this option if your backend service uses WebSockets. For NGINX Proxy Manager, you can leave this unchecked.
- Access List: Leave this as
Publically Accessibleunless you have set up an access list for your proxy. This does not mean anyone outside your local network can access the proxy, it just means that the proxy is accessible to anyone on your local network.
Then click Save to create the proxy.
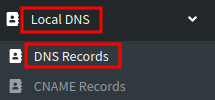
The proxy will now be created and you will see it listed on the Proxy Hosts tab. At this point only half of the proxy is set up. Open Pi-hole and navigate to the Local DNS menu item, then select DNS Records. Here you will need to add a DNS record for the domain name you set up in the NGINX Proxy Manager.
At the top where it says Add a new domain/IP combination enter the domain you set for Nginx Proxy Manager in the Domain field, and the IP address of the VM running NGINX Proxy Manager in the IP Address field. Click Add to create the DNS record.

Note: For every domain you want to proxy, the IP Address in Pi-hole must match the IP address of the VM running NGINX Proxy Manager. The IP address you enter in Pi-hole is not the IP of the service you are proxying, but rather the IP of the NGINX Proxy Manager VM itself.
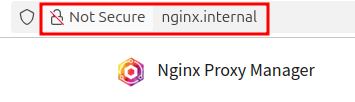
Once the DNS entry is saved in Pi-hole, you can test the proxy by entering the domain name you set up in NGINX Proxy Manager into your web browser. If everything is set up correctly, you should see the NGINX Proxy Manager web interface.
More proxies can be added, simply create a new proxy host and repeat the steps above to add a DNS entry in Pi-hole for each new proxy. It may be slightly confusing at first, but the basic idea is that when you type your custom domain into your web browser, Pi-hole resolves that domain to the IP address of the NGINX Proxy Manager VM. The NGINX Proxy Manager then forwards the request to the appropriate service based on the proxy configuration you set up. This is why in Pi-hole you need to set the IP address of the NGINX Proxy Manager VM for each domain you want to proxy, rather than the IP address of the service itself.
SSL Certificates
It is possible to set up SSL certificates for your proxy using the NGINX Proxy Manager web interface. If your setup is only running local services, you can get a Let's Encrypt certificate by purchasing a domain and generating a certificate for it. However, this is optional and may be covered separately.