This post contains affiliate links. If you purchase through these links, I may earn a small commission at no extra cost to you.
How to Import ZFS Pools into a New Proxmox Host
Step-by-step guide to importing existing ZFS pools into a new Proxmox VE host — covering force-import, pool upgrades, converting a mirror to RAIDZ1, registering pools in Proxmox, and setting up scrub schedules.
If you're moving drives from one Proxmox host to another — whether you're consolidating multiple machines into one, upgrading hardware, or rebuilding from scratch — importing your existing ZFS pools is one of the first things you'll need to do. The good news: ZFS makes this straightforward since the pool metadata lives on the drives themselves. Plug them in, run a command, and your data is back.
In this guide, I'll walk through importing two ZFS pools into a new Proxmox VE 9 host: a 6-drive HDD RAIDZ2 pool with about 2TB of existing data, and an NVMe pool that I'm destroying and recreating with a different RAID layout. Along the way I'll cover the force-import flag, upgrading pool feature flags, converting a 2-drive mirror to a 3-drive RAIDZ1, registering pools as Proxmox storage, and setting up monthly scrub schedules.
My setup:
- Proxmox VE 9.1.6 running on a Threadripper PRO 3995WX
- ZFS 2.4.0-pve1 (ships with PVE 9)
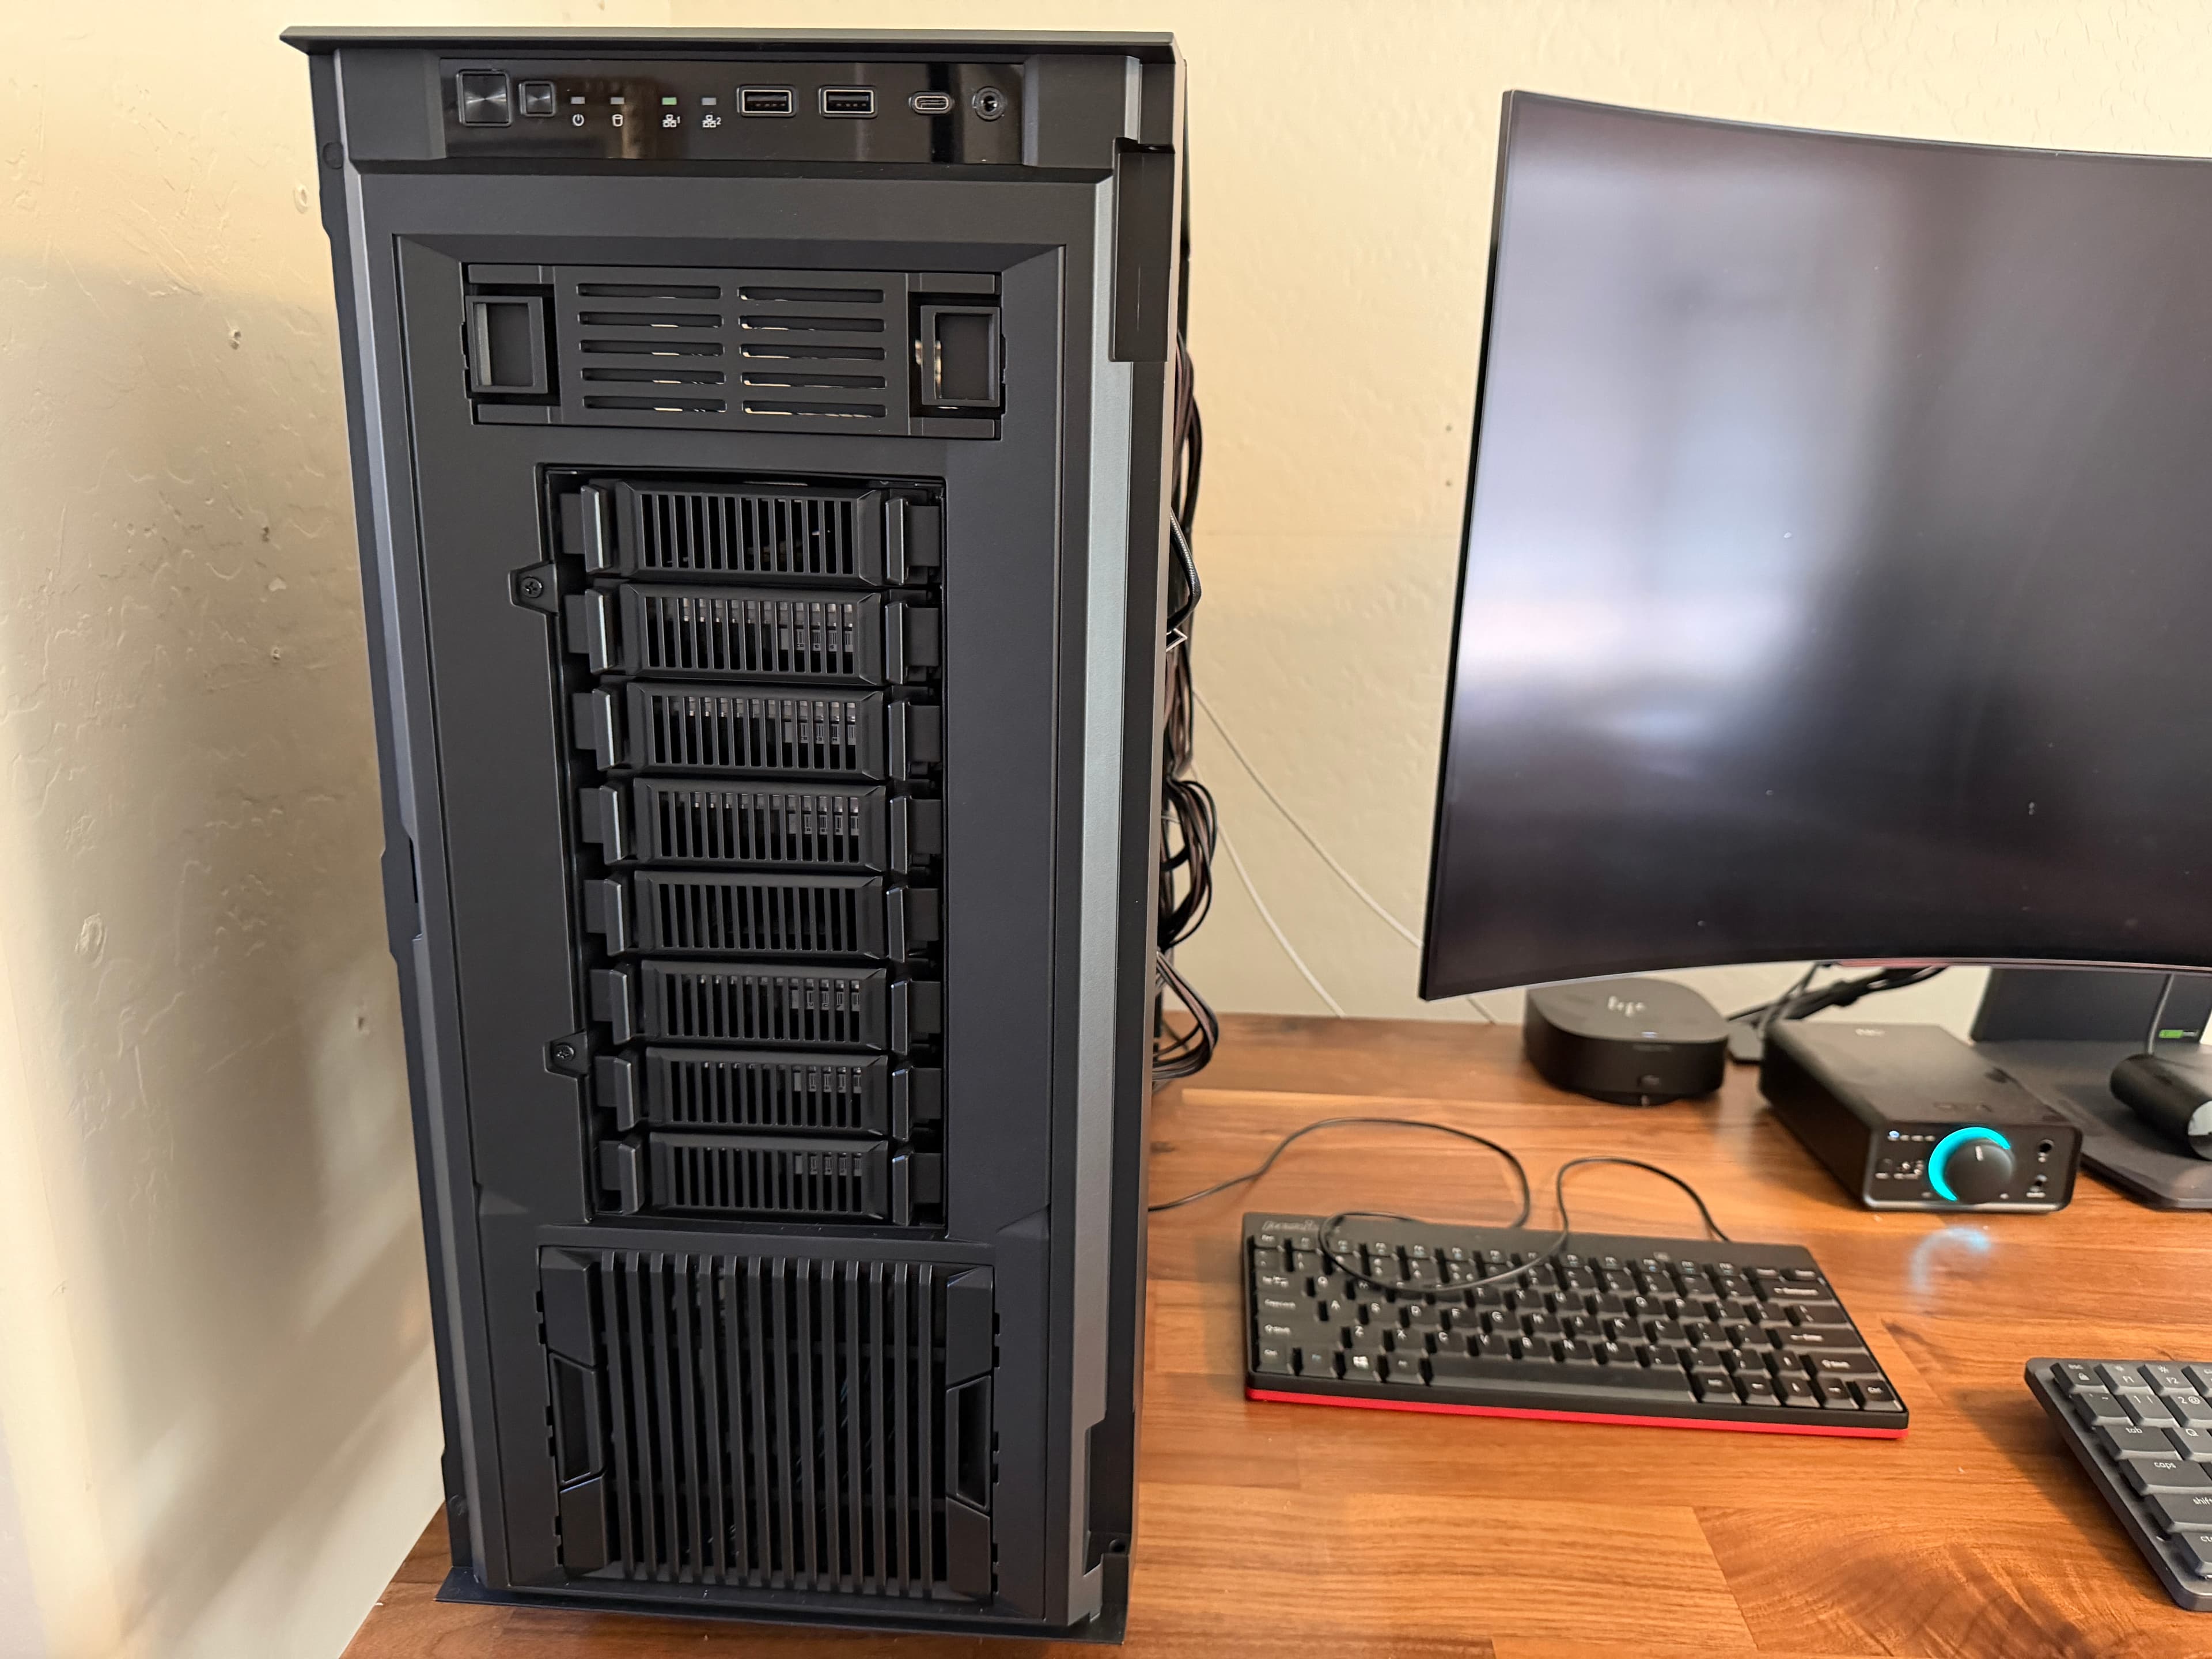
- 6x 18TB Seagate Exos X18 HDDs (existing RAIDZ2 pool with ~2TB of media, documents, and photos)
- 3x 4TB Teamgroup MP34 NVMe drives (former 2-drive mirror, being rebuilt as 3-drive RAIDZ1)
- Samsung 980 PRO 2TB as the Proxmox boot drive (not part of any pool)
Prerequisites
- Proxmox VE 8 or later with ZFS support (included by default)
- The drives from your old pool physically installed in the new host
- SSH access to the Proxmox host
- The old host must be powered off or have the pool exported — ZFS prevents two hosts from importing the same pool simultaneously
If you're starting from a fresh Proxmox install, check out the Proxmox VE 9 Post-Install Setup Guide first to get your repos and basic config sorted.
Step 1: Check for Importable Pools
Before importing anything, let's see what ZFS can find on the installed drives. SSH into your Proxmox host and run:
zpool importThis scans all available drives and lists any pools that can be imported. You'll see something like:
  pool: hdd-pool
    id: 99554324906757126
 state: ONLINE
status: The pool was last accessed by another system.
action: The pool can be imported using its name or numeric identifier and
        the '-f' flag.
config:

    hdd-pool                               ONLINE
      raidz2-0                             ONLINE
        ata-ST18000NM002J-2TV133_ZR5A3RTN  ONLINE
        ata-ST18000NM002J-2TV133_ZR576FLS  ONLINE
        ata-ST18000NM002J-2TV133_ZR5A9TK2  ONLINE
        ata-ST18000NM002J-2TV133_ZR5ADTBS  ONLINE
        ata-ST18000NM003D-3DL103_ZVT8CH6F  ONLINE
        ata-ST18000NM002J-2TV133_ZR576EMB  ONLINE
Two things to note here:
-
"The pool was last accessed by another system" — this is normal when moving drives between hosts. ZFS tracks a hostid for each pool, and since these drives came from a different machine, the hostid doesn't match. That's what the
-fflag is for. -
All drives show ONLINE — this means ZFS can read the pool metadata from every drive. If any drives were missing or damaged, they'd show as UNAVAIL or DEGRADED here.
You might also see a message about "supported features not enabled" — that means the pool was created on an older ZFS version and can be upgraded. We'll handle that after import.
Step 2: Import the Pool
For a pool that was last used on a different host, you need the -f (force) flag:
zpool import -f hdd-poolThe -f flag tells ZFS "I know this pool was on another system, and I'm intentionally importing it here." This is safe as long as the old host isn't still running with these drives — ZFS uses the hostid check to prevent two systems from writing to the same pool simultaneously, which would cause corruption.
Warning: Never force-import a pool that might still be active on another host. Make sure the old system is powered off or has exported the pool with
zpool exportfirst. If two systems write to the same pool, you will lose data.
If your pool was cleanly exported from the old host (via zpool export), you won't need the -f flag — a regular zpool import hdd-pool will work.
Step 3: Verify the Import
Check that everything came through cleanly:
zpool status hdd-poolYou should see all drives ONLINE with zero errors:
  pool: hdd-pool
 state: ONLINE
  scan: scrub repaired 0B in 00:14:30 with 0 errors on Sun Feb  8 00:38:31 2026
config:

    NAME                                   STATE     READ WRITE CKSUM
    hdd-pool                               ONLINE       0     0     0
      raidz2-0                             ONLINE       0     0     0
        ata-ST18000NM002J-2TV133_ZR5A3RTN  ONLINE       0     0     0
        ata-ST18000NM002J-2TV133_ZR576FLS  ONLINE       0     0     0
        ata-ST18000NM002J-2TV133_ZR5A9TK2  ONLINE       0     0     0
        ata-ST18000NM002J-2TV133_ZR5ADTBS  ONLINE       0     0     0
        ata-ST18000NM003D-3DL103_ZVT8CH6F  ONLINE       0     0     0
        ata-ST18000NM002J-2TV133_ZR576EMB  ONLINE       0     0     0

errors: No known data errors
The READ, WRITE, and CKSUM columns should all be zero. If you see any non-zero values, you might have a drive issue worth investigating before proceeding.
Now check that your datasets and data are intact:
zfs list -r hdd-poolNAME USED AVAIL REFER MOUNTPOINT
hdd-pool 2.06T 63.2T 12.5G /hdd-pool
hdd-pool/documents 1.84G 63.2T 208K /hdd-pool/documents
hdd-pool/downloads 1.62T 63.2T 1.62T /hdd-pool/downloads
hdd-pool/media 323G 63.2T 256K /hdd-pool/media
hdd-pool/media/movies 25.1G 63.2T 25.1G /hdd-pool/media/movies
hdd-pool/media/tv 283G 63.2T 283G /hdd-pool/media/tv
hdd-pool/photos 99.5G 63.2T 99.5G /hdd-pool/photos
Everything is right where you left it. ZFS datasets, properties, and data all survive the move between hosts — it's one of the best features of the filesystem.
Step 4: Upgrade Pool Feature Flags
If the pool was created on an older ZFS version, you can upgrade it to enable new features available on your current system:
zpool upgrade hdd-poolEnabled the following features on 'hdd-pool':
block_cloning_endian
physical_rewrite
This is optional but recommended. It enables performance and reliability features added in newer ZFS versions. The upgrade is one-way — once upgraded, the pool can't be imported on systems running older ZFS versions. If you might need to move these drives back to an older system, skip this step.
Verify your ZFS properties survived the import:
zfs get compression,atime,xattr,acltype hdd-poolNAME PROPERTY VALUE SOURCE
hdd-pool compression lz4 local
hdd-pool atime off local
hdd-pool xattr sa local
hdd-pool acltype posix local
These properties are stored on the pool itself, so they follow the drives to the new host. If you're setting up a fresh pool, these are the properties I'd recommend:
- compression=lz4 — minimal CPU overhead, solid compression ratio. No reason not to use it.
- atime=off — disables access time updates. Every file read would otherwise trigger a write to update the access timestamp.
- xattr=sa — stores extended attributes in the inode rather than a hidden directory. Better performance.
- acltype=posixacl — enables POSIX ACLs, needed for bind mounts with LXC containers.
Recreating a Pool with a Different Layout (Optional)
This section covers destroying an existing pool and recreating it with a different RAID configuration. Skip this if you're only importing pools as-is.
In my case, I had a 2-drive NVMe mirror (~3.6TB usable) and a third identical NVMe drive sitting unused. Rather than keeping the mirror and wasting the third drive, I decided to destroy the pool and recreate it as a 3-drive RAIDZ1 (~7.3TB usable).
Why RAIDZ1 over keeping the mirror?
| Layout | Usable Space | Redundancy |
|---|---|---|
| 2-drive mirror | ~3.6TB | Can lose 1 drive |
| 3-way mirror | ~3.6TB | Can lose 2 drives |
| 3-drive RAIDZ1 | ~7.3TB | Can lose 1 drive |
RAIDZ1 doubles the usable space compared to a mirror while maintaining single-drive fault tolerance. For NVMe drives that I'm using for VM storage, databases, and caches, this is the right tradeoff — I don't need the ability to survive two simultaneous NVMe failures.
Step 1: Confirm the pool is empty
Before destroying anything, verify there's nothing you need:
zpool import ssd-pool
zfs list -r ssd-poolNAME USED AVAIL REFER MOUNTPOINT
ssd-pool 1.02M 3.60T 96K /ssd-pool
ssd-pool/immich-cache 96K 3.60T 96K /ssd-pool/immich-cache
Just 1MB used — nothing worth keeping. If your pool has data, back it up before proceeding.
Step 2: Destroy the old pool
zpool destroy ssd-poolThis releases the drives from ZFS. No confirmation prompt — make sure you've checked the data first.
Step 3: Wipe the drives
Clean all filesystem signatures from every drive that will be in the new pool. This removes old ZFS labels, partition tables, and any other filesystem metadata:
wipefs -a /dev/disk/by-id/nvme-TEAM_TM8FP4004T_1B2310270292385
wipefs -a /dev/disk/by-id/nvme-TEAM_TM8FP4004T_1B2310160031320
wipefs -a /dev/disk/by-id/nvme-TEAM_TM8FP4004T_1B2310270292480Always use /dev/disk/by-id/ paths rather than /dev/nvme0n1 or /dev/sda. Device names like sda can change between reboots depending on detection order, but the by-id paths are based on drive serial numbers and won't shift around on you.
Step 4: Create the new pool
zpool create -o ashift=12 ssd-pool raidz1 \
  /dev/disk/by-id/nvme-TEAM_TM8FP4004T_1B2310270292385 \
  /dev/disk/by-id/nvme-TEAM_TM8FP4004T_1B2310160031320 \
/dev/disk/by-id/nvme-TEAM_TM8FP4004T_1B2310270292480The -o ashift=12 flag sets the sector size to 4K (2^12 = 4096 bytes). Most modern drives — both NVMe and HDD — use 4K physical sectors. If you skip this, ZFS might default to 512-byte sectors (ashift=9), which causes write amplification because every 512-byte write actually hits a full 4K sector on the drive. This can't be changed after pool creation, so get it right the first time.
Verify the result:
zpool status ssd-pool pool: ssd-pool
state: ONLINE
config:
NAME STATE READ WRITE CKSUM
ssd-pool ONLINE 0 0 0
raidz1-0 ONLINE 0 0 0
nvme-TEAM_TM8FP4004T_1B2310270292385 ONLINE 0 0 0
nvme-TEAM_TM8FP4004T_1B2310160031320 ONLINE 0 0 0
nvme-TEAM_TM8FP4004T_1B2310270292480 ONLINE 0 0 0
Step 5: Set properties and create datasets
Apply the same properties as the HDD pool:
zfs set compression=lz4 ssd-pool
zfs set atime=off ssd-pool
zfs set xattr=sa ssd-pool
zfs set acltype=posixacl ssd-poolCreate your initial datasets based on what you'll be storing:
zfs create ssd-pool/databases
zfs create ssd-pool/appdata
zfs create ssd-pool/immich-cacheRegistering Pools in Proxmox
At this point your pools are imported and working at the ZFS level, but Proxmox doesn't know about them yet. You need to add them to /etc/pve/storage.cfg so they show up in the GUI and can be used for container and VM storage.
For a directory-based pool (bulk storage, bind mounts):
cat >> /etc/pve/storage.cfg << 'EOF'

dir: hdd-pool
	path /hdd-pool
	content rootdir,images,iso,vztmpl,backup
	is_mountpoint 1
EOFThe is_mountpoint 1 flag tells Proxmox this path is a mount point and not to assume it's available if the pool isn't imported. Without this, Proxmox might complain about missing storage on boot if the pool takes a moment to import.
For a ZFS-native pool (VM disks, container rootfs with thin provisioning):
cat >> /etc/pve/storage.cfg << 'EOF'

zfspool: ssd-pool
	pool ssd-pool
	content rootdir,images
	sparse 1
EOFThe sparse 1 flag enables thin provisioning — VM disks only consume space as data is written, rather than pre-allocating the full disk size.
Verify both pools appear in Proxmox:
pvesm statusName Type Status Total (KiB) Used (KiB) Available (KiB) %
hdd-pool dir active 67910837888 13061376 67897776512 0.02%
local dir active 98497780 5265628 88182604 5.35%
local-lvm lvmthin active 1793077248 5020616 1788056631 0.28%
ssd-pool zfspool active 7855112192 1172 7855111019 0.00%
Both pools are active and reporting their correct sizes. You should also see them in the Proxmox web GUI under Datacenter > Storage.
Setting Up Scrub Schedules
ZFS scrubs read every block on the pool and verify checksums to detect silent data corruption (bit rot). Without regular scrubs, you might not discover a corrupted block until you try to read the affected file — by which point your redundancy might not be able to recover it.
Add monthly scrubs via cron:
echo "0 2 1 * * root zpool scrub hdd-pool" >> /etc/crontab
echo "0 3 1 * * root zpool scrub ssd-pool" >> /etc/crontabThis runs a scrub on the 1st of every month — hdd-pool at 2 AM, ssd-pool at 3 AM. Stagger them so they don't compete for I/O.
For HDD pools with tens of terabytes, a scrub can take several hours. NVMe pools finish much faster. You can check scrub progress anytime with zpool status.
Auto-Mount on Boot
Imported pools auto-import on boot via the zfs-import-cache.service systemd unit — you don't need to do anything extra. Verify the cachefile setting is at its default:
zpool get cachefile hdd-pool ssd-poolNAME PROPERTY VALUE SOURCE
hdd-pool cachefile - default
ssd-pool cachefile - default
The default value means ZFS uses /etc/zfs/zpool.cache, which is updated automatically when you import or create pools. On next boot, ZFS reads this cache and imports all known pools.
Wrapping Up
That's it — pools imported, upgraded, registered in Proxmox, and scrub schedules set. The whole process took about 10 minutes of actual work. ZFS makes drive migration between hosts about as painless as it gets — the pool metadata travels with the drives, so there's no reformatting, no data copying, and no reconfiguration.
From here, you can start creating LXC containers and VMs that use these pools for storage via bind mounts (for the directory pool) or directly as ZFS zvols (for the ZFS pool). The hdd-pool is ready for media servers, file shares, and backup destinations, while the ssd-pool is set up for anything that needs faster I/O — databases, container rootfs, and application data.