This post contains affiliate links. If you purchase through these links, I may earn a small commission at no extra cost to you.
Proxmox VE 9 Post-Install Setup Guide (2026)
Step-by-step guide to configuring Proxmox VE 9 after a fresh install — switch to free repos, remove the subscription nag, disable HA for single-node, and update packages using the community post-install helper script.

After installing Proxmox VE 9, there are a handful of things you need to configure before you start deploying VMs and containers. Out of the box, Proxmox ships with enterprise repositories that require a paid subscription, HA services you don't need on a single-node setup, and a subscription nag popup that greets you every time you log in.
I'm running Proxmox VE 9.1.1 on a Threadripper PRO 3995WX with 256GB of DDR4 — a single-node homelab build on a SuperMicro M12SWA-TF motherboard. The hardware doesn't matter much for this guide though. Whether you're running Proxmox on an old Dell OptiPlex or a rack server, the post-install steps are the same.
Instead of editing repo files and patching JavaScript by hand, we're going to use the community post-install helper script. It handles everything through interactive prompts and gets the details right — especially the deb822 format migration that PVE 9 (Debian trixie) uses.
Prerequisites
- A fresh Proxmox VE 9.x installation (this guide was tested on 9.1.1)
- SSH or console access to the Proxmox host
- An internet connection (the script downloads nothing, but the package update needs it)
About the Community Helper Script
The script comes from the community-scripts/ProxmoxVE project on GitHub. This was originally the tteck/Proxmox project (transferred to a community org after tteck passed away). It has 5,000+ stars, hundreds of contributors, and is the de facto standard for Proxmox helper scripts. If you've set up Proxmox before, you've probably used it.
Why use a script instead of doing it manually? PVE 9 uses the newer deb822 .sources format instead of the traditional .list files. The script handles this correctly, patches the right JavaScript files for the subscription nag (which change between PVE versions), and gives you interactive control over every change. Doing it by hand means editing 3-4 source files and hunting for the right JS file to patch — tedious and error-prone for no real benefit.
Step 1: Run the Post-Install Script
SSH into your Proxmox host and run:
bash -c "$(curl -fsSL https://raw.githubusercontent.com/community-scripts/ProxmoxVE/main/tools/pve/post-pve-install.sh)"This downloads and runs the script directly. It doesn't install anything — it's a configuration script that modifies repo files, patches the web UI, and manages services through interactive prompts.
You'll see the welcome banner:
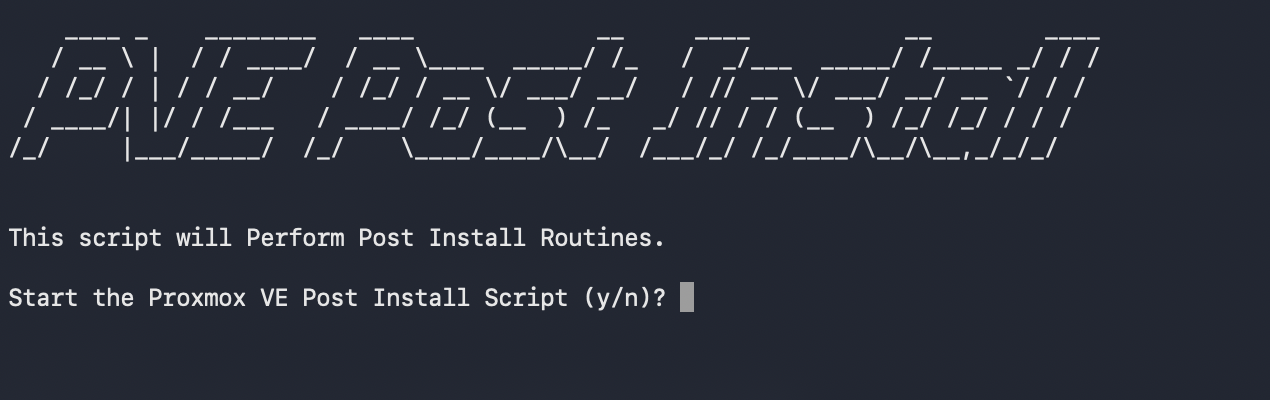
Type y to start.
Step 2: Repository Configuration
The script walks you through each repository one at a time. Here's what to expect and what to choose.
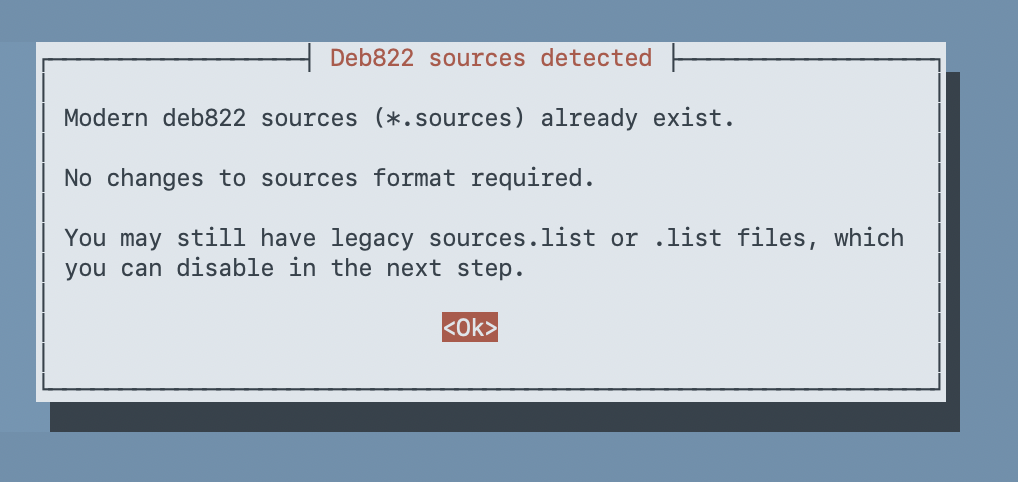
Source Format Detection
First, the script checks your source file format. Since PVE 9 runs on Debian 13 (trixie), it already uses the modern deb822 .sources format. No migration needed.
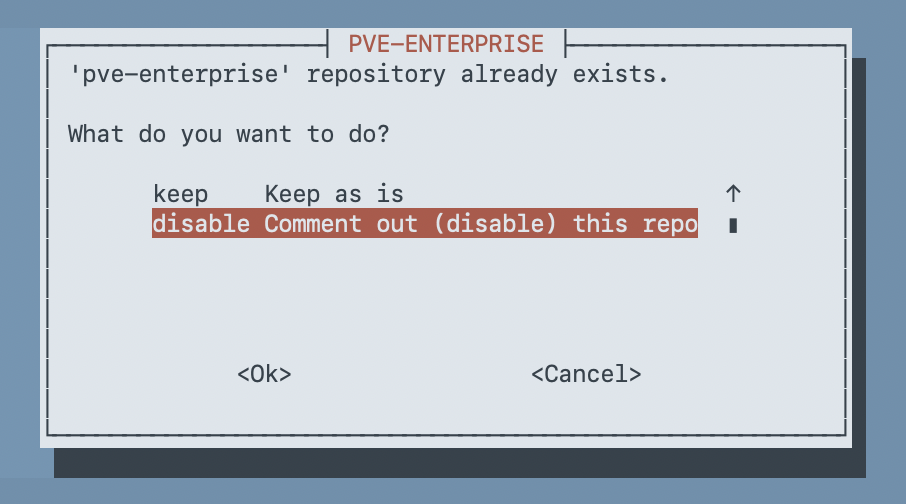
Disable the PVE Enterprise Repo
The enterprise repo requires a paid subscription. Without one, apt update throws authentication errors every time it runs. Select disable — this comments out the repo rather than deleting it, so you can re-enable it if you ever subscribe.
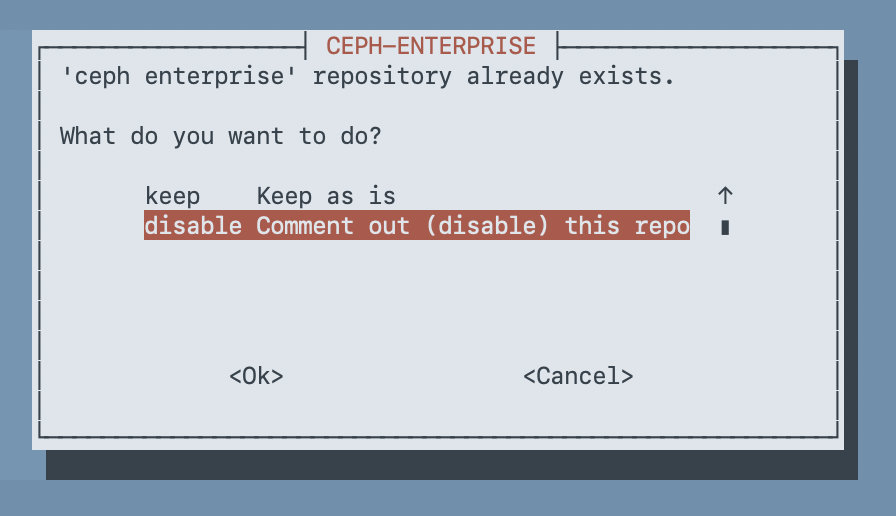
Disable the Ceph Enterprise Repo
Same story as the PVE enterprise repo. Ceph enterprise requires a subscription. Disable it to prevent apt errors.
Enable the No-Subscription Repo
This is the free community repository. It provides the same packages as the enterprise repo — the only difference is you don't get commercial support. For homelab use, this is exactly what you want. Select yes.

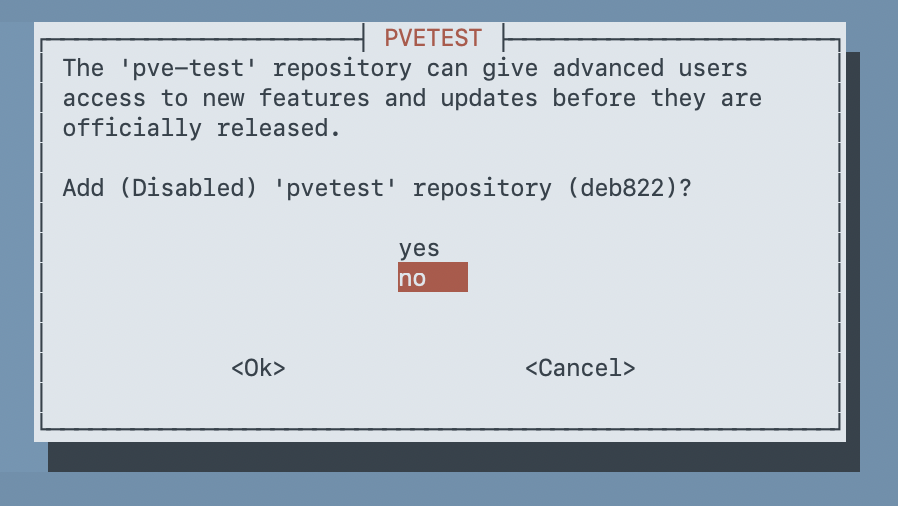
Skip the PVE Test Repo
The test repository has bleeding-edge packages that haven't been fully validated yet. Unless you're specifically testing PVE beta features, skip this one. Select no.
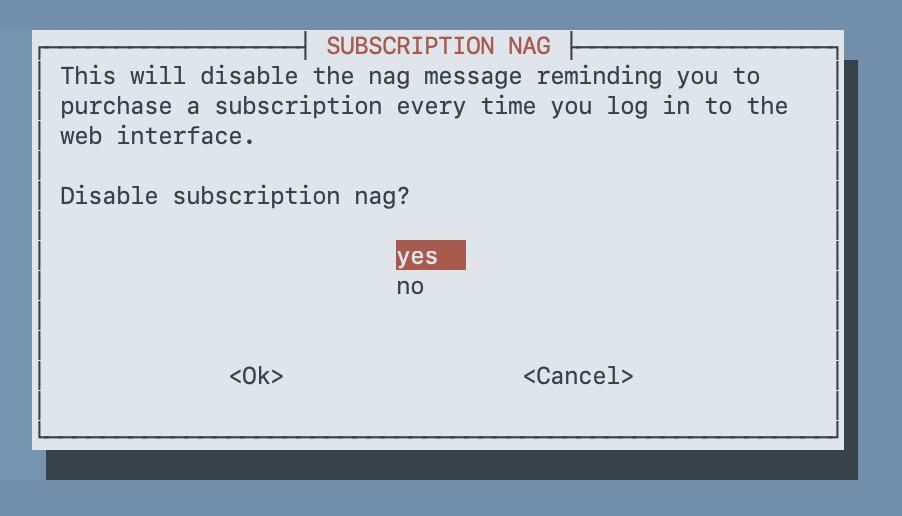
Step 3: Remove the Subscription Nag
Every time you log into the Proxmox web UI without a subscription, you get a popup reminding you to buy one. It's cosmetic — it doesn't affect functionality — but it gets old fast. Select yes to disable it.
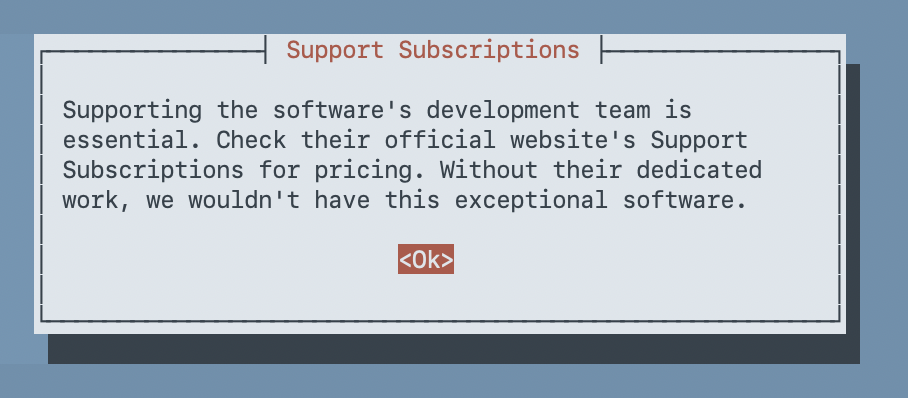
The script patches the web UI JavaScript files to remove the popup. After this, you'll see a reminder to support the Proxmox development team through official subscriptions — fair enough.
Note: The subscription nag patch gets overwritten whenever PVE web UI packages are updated. After major Proxmox upgrades, you may need to re-run the script to remove it again.
Step 4: Disable High Availability
HA (high availability) is designed for multi-node Proxmox clusters where VMs need to automatically fail over to another host if one goes down. On a single-node setup, these services consume resources and generate log warnings for no benefit.
Select yes to disable HA. This stops the pve-ha-lrm and pve-ha-crm services.
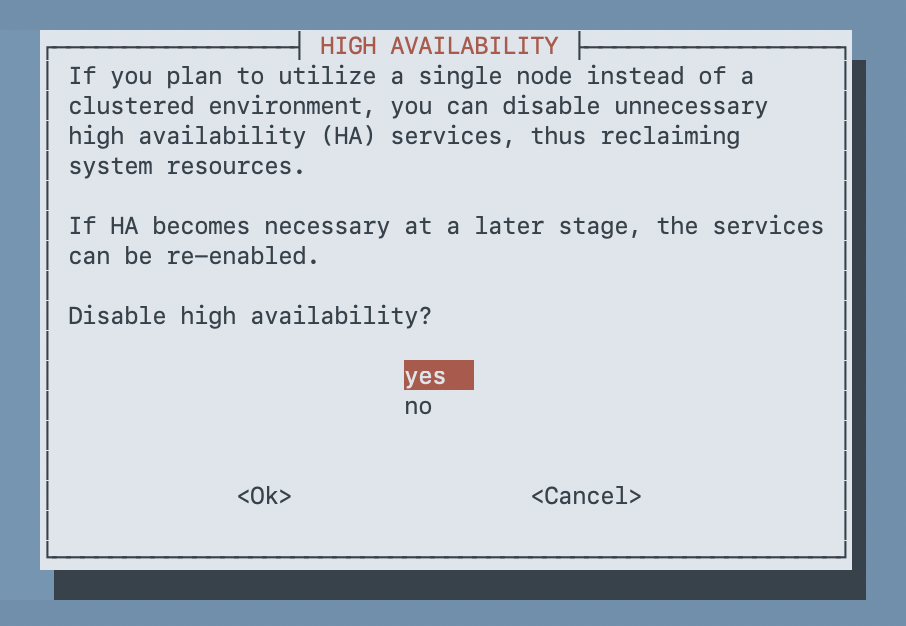
If HA ever becomes relevant (say you add a second node), you can re-enable these services with systemctl enable --now pve-ha-lrm pve-ha-crm.
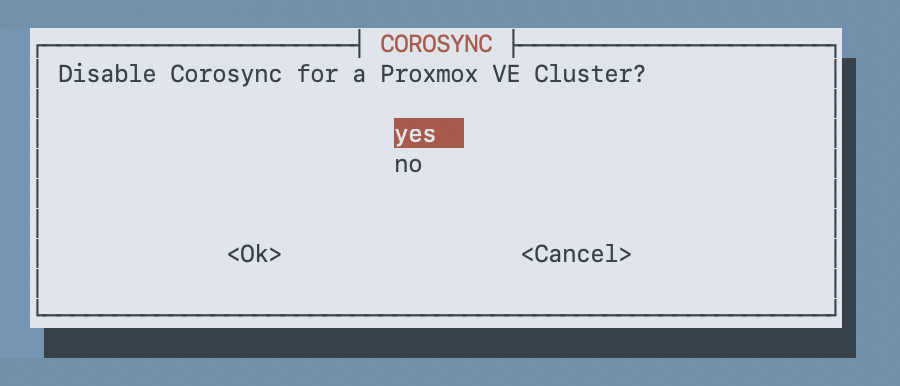
Disable Corosync
Corosync is the cluster communication daemon. It's already inactive on a fresh single-node install, but the script offers to formally disable it. Select yes.
Step 5: Update Packages
The script offers to run apt update && apt dist-upgrade. Since you've now switched from the enterprise repo to the no-subscription repo, this pulls the latest packages from the correct source. On a fresh install, there's no reason not to. Select yes.
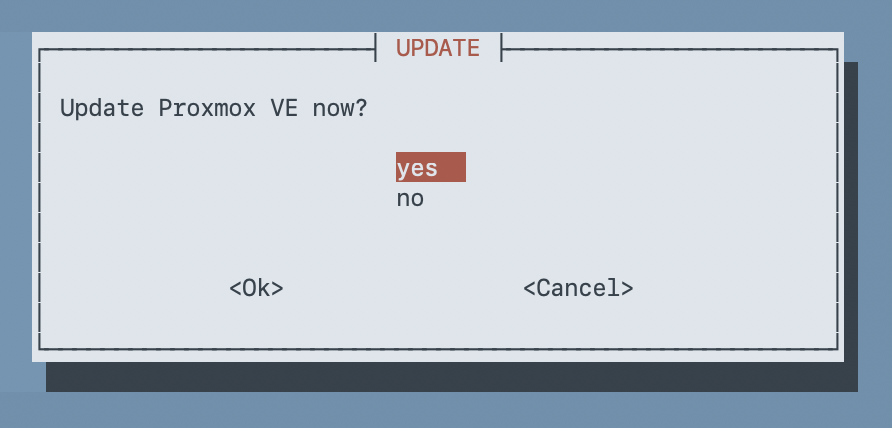
This may take a minute depending on how many packages need updating. In my case, PVE went from 9.1.1 to 9.1.6 and the kernel updated from 6.17.2 to 6.17.9.
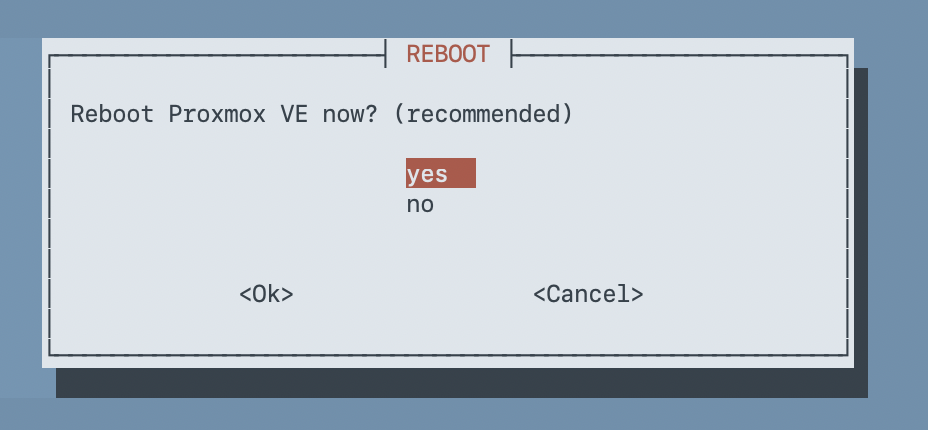
Step 6: Reboot
After the update, you'll see a reminder to clear your browser cache (Ctrl+Shift+R or Cmd+Shift+R) to avoid display issues from the subscription nag patch.
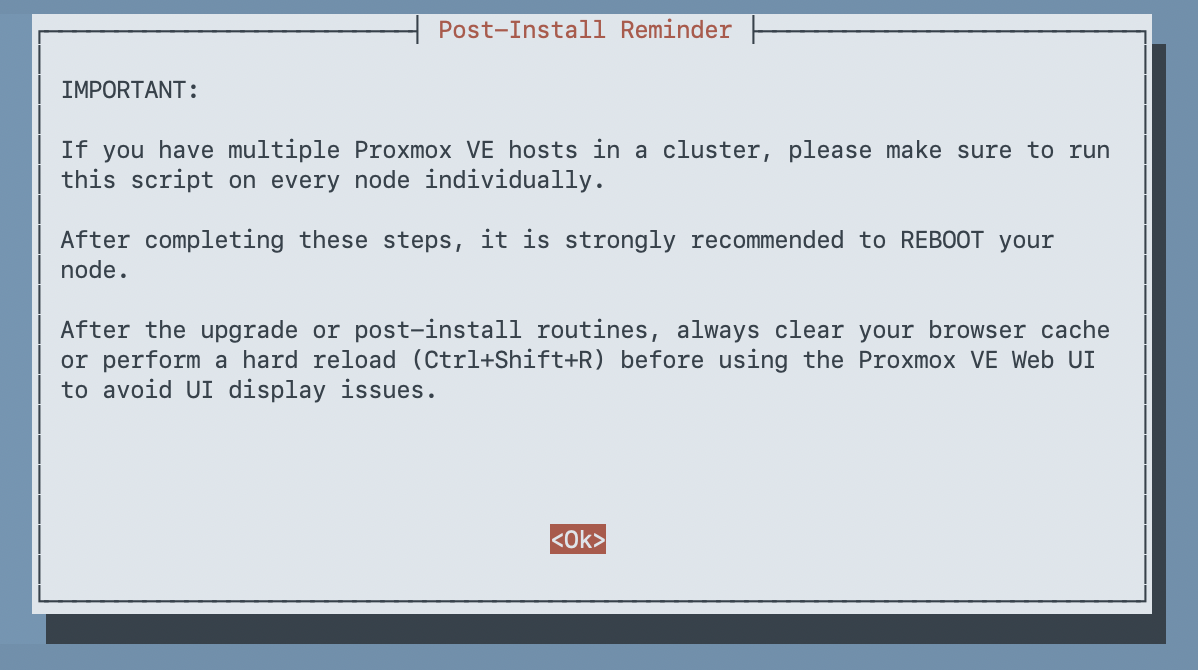
Then the script asks to reboot. Kernel updates from the dist-upgrade won't take effect until you restart. On a fresh install with nothing running, go ahead and reboot. Select yes.
Before the reboot, you'll see a summary of everything the script did:

Verification
After the host comes back up, verify everything looks right.
Check that apt runs clean — no enterprise repo errors:
apt updateYou should see it pull from the no-subscription repo without any authentication warnings or errors.
Confirm HA services are disabled:
systemctl is-active pve-ha-lrm pve-ha-crm corosyncAll three should report inactive.
Check the updated version:
pveversion -vYou should see the latest PVE version and kernel. In my case:
- PVE: 9.1.6 (was 9.1.1)
- Kernel: 6.17.9-1-pve (was 6.17.2-1-pve)
Log into the web UI and confirm the subscription nag popup is gone. Remember to do a hard refresh (Ctrl+Shift+R) on first load after the script runs.
Wrap-Up
That covers the essential post-install configuration for Proxmox VE 9 on a single-node homelab setup. The community helper script handles the tedious parts — repo switching, nag removal, HA cleanup — in under five minutes with interactive prompts so you control every change.
From here you're ready to start setting up storage pools, creating VMs and containers, and deploying services. The Proxmox host is now pulling from the right repos, running clean without subscription warnings, and not wasting resources on cluster services it doesn't need.