This post contains affiliate links. If you purchase through these links, I may earn a small commission at no extra cost to you.
How to Fix Noctua Fan Cycling on SuperMicro Boards with ipmitool
Fix the fan ramp-up/slow-down cycling caused by Noctua fans spinning below SuperMicro's default BMC thresholds. Covers lowering IPMI fan thresholds, clearing a stuck SEL, and making the fix persistent with a systemd service.
If you've swapped the stock fans in your SuperMicro server for Noctua fans, there's a good chance you've noticed an annoying cycle: the fans ramp up to full speed, slow back down, then ramp up again — over and over. It sounds like the system is struggling, but your temps are fine. What gives?
This happens because SuperMicro's BMC (Baseboard Management Controller) expects high-RPM server fans — the kind that spin at 3,000–10,000+ RPM. Noctua fans are built for silence and typically idle around 280–500 RPM. When they drop below the BMC's "Lower Critical" threshold, the BMC interprets it as a stalled fan and ramps everything to 100%. The fans speed up, exceed the threshold, and the BMC backs off. Then they slow down, drop below the threshold, and the cycle starts again.
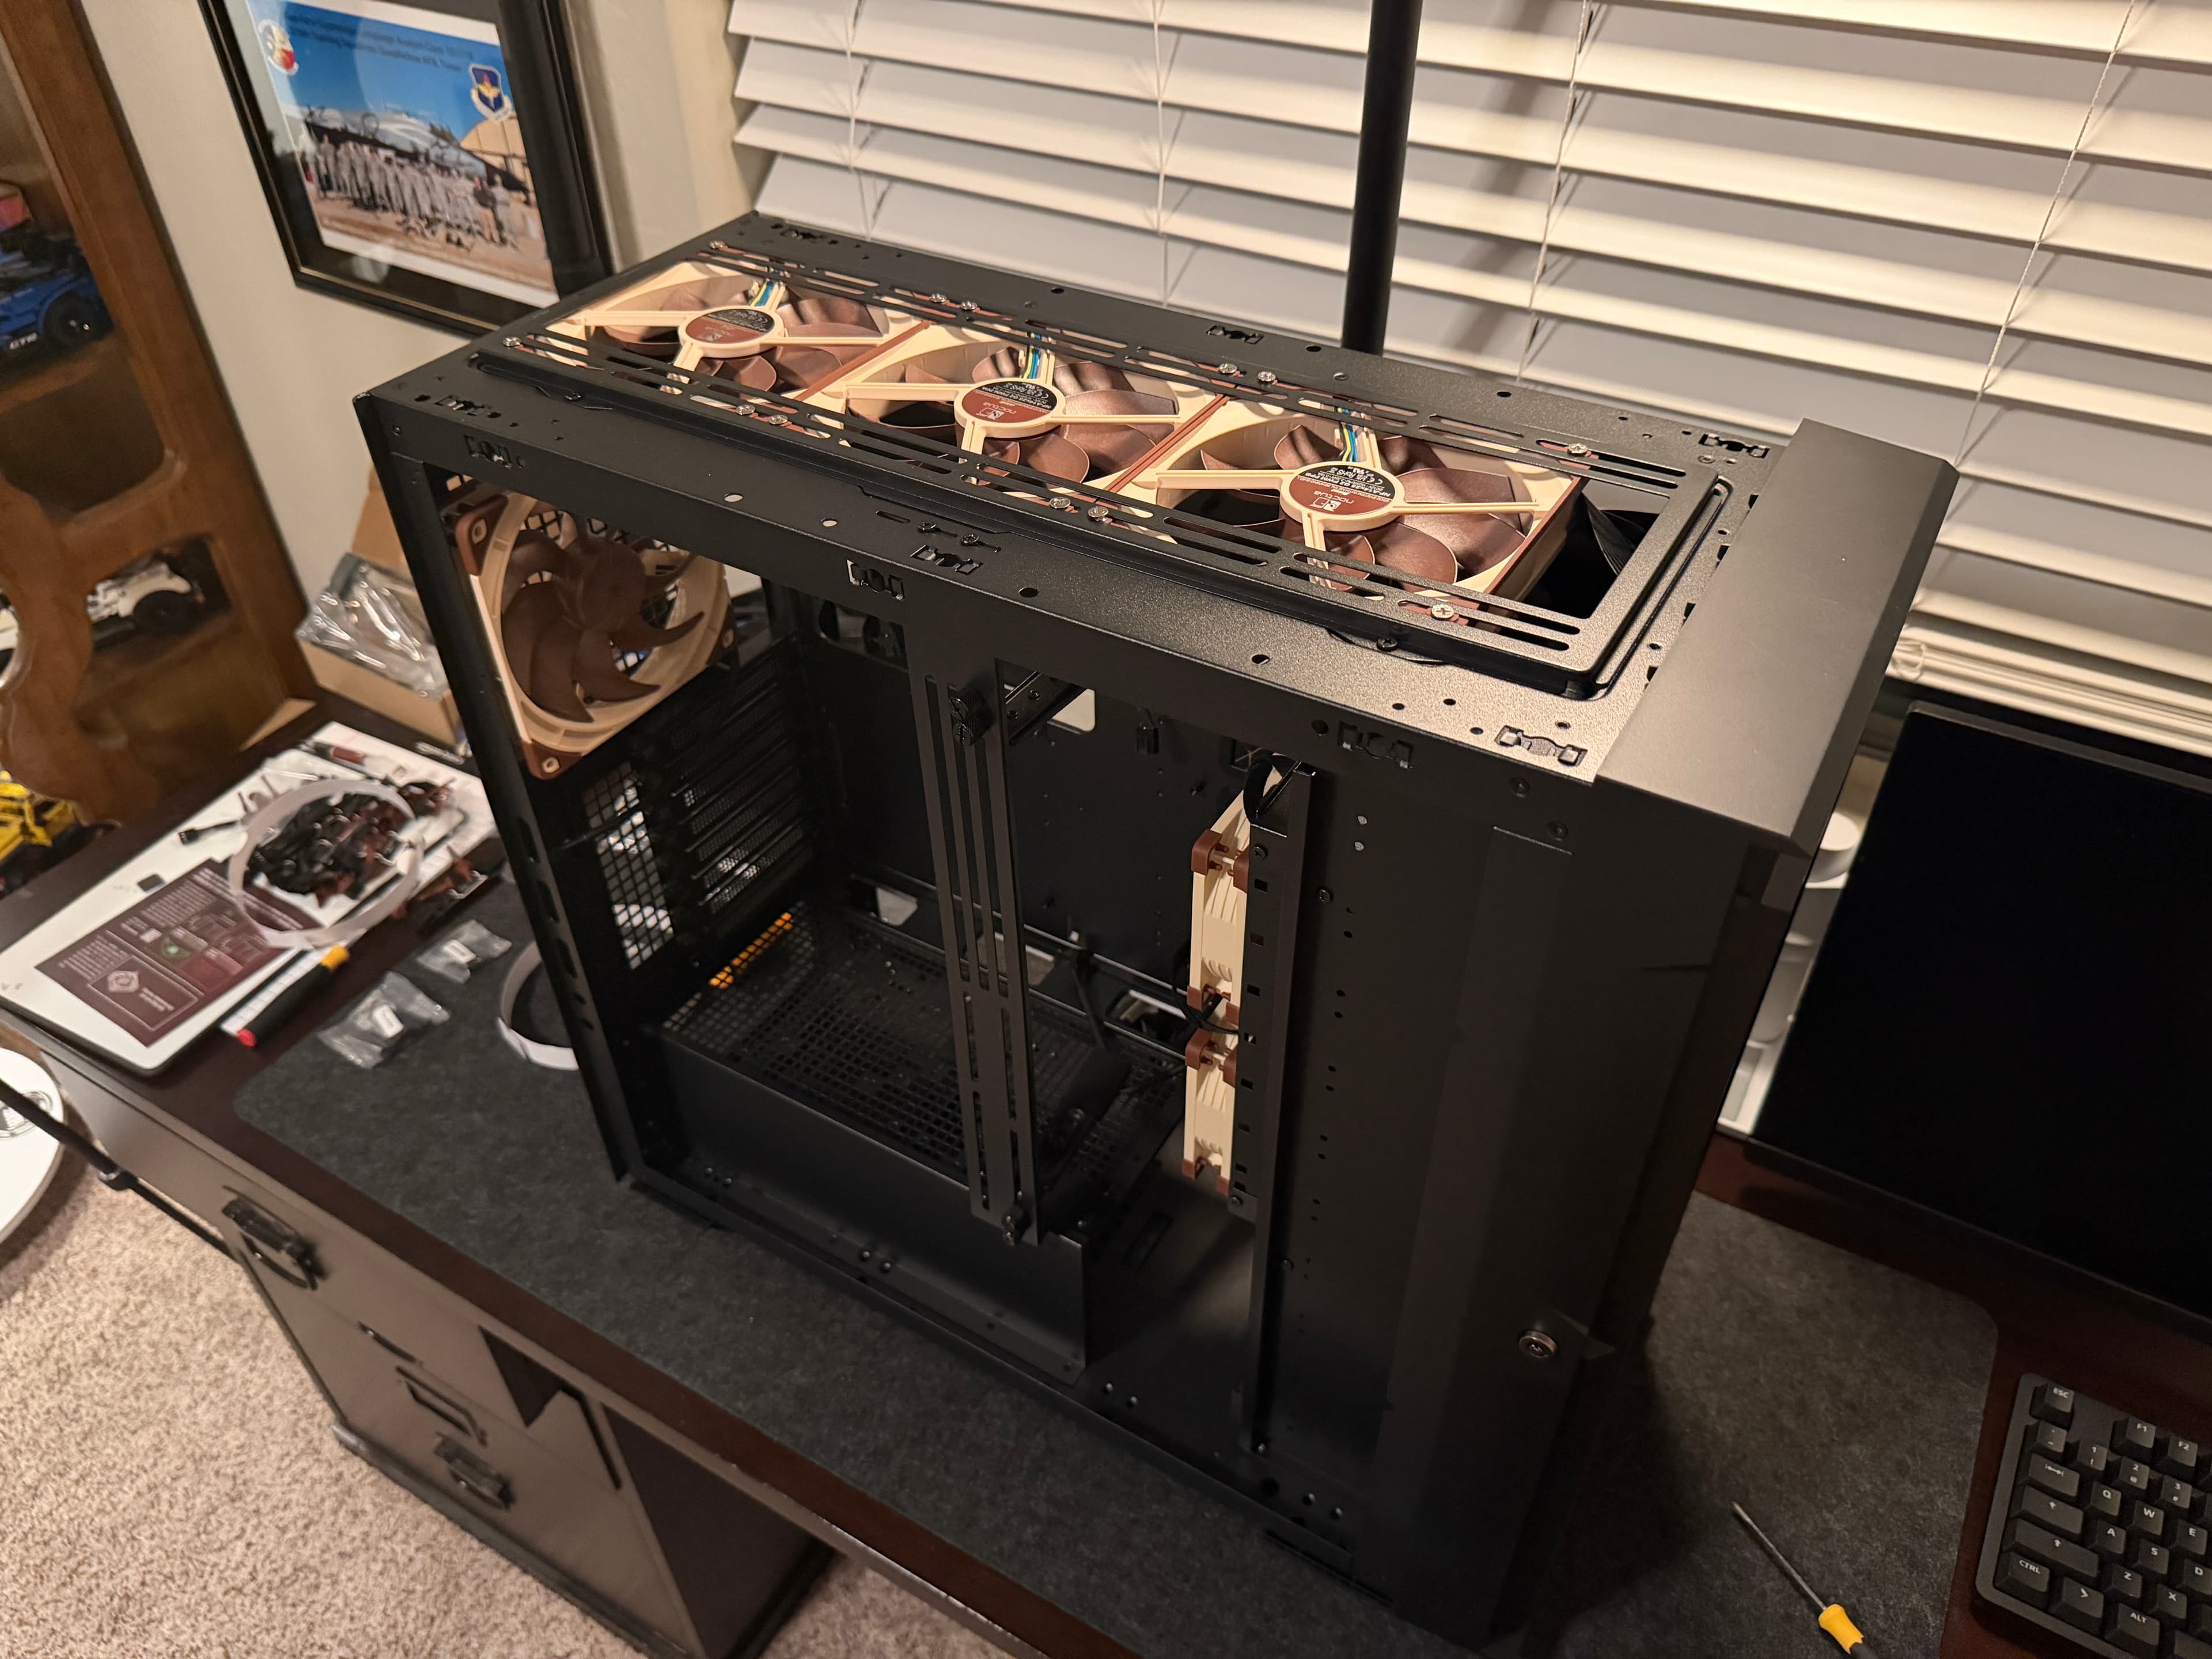
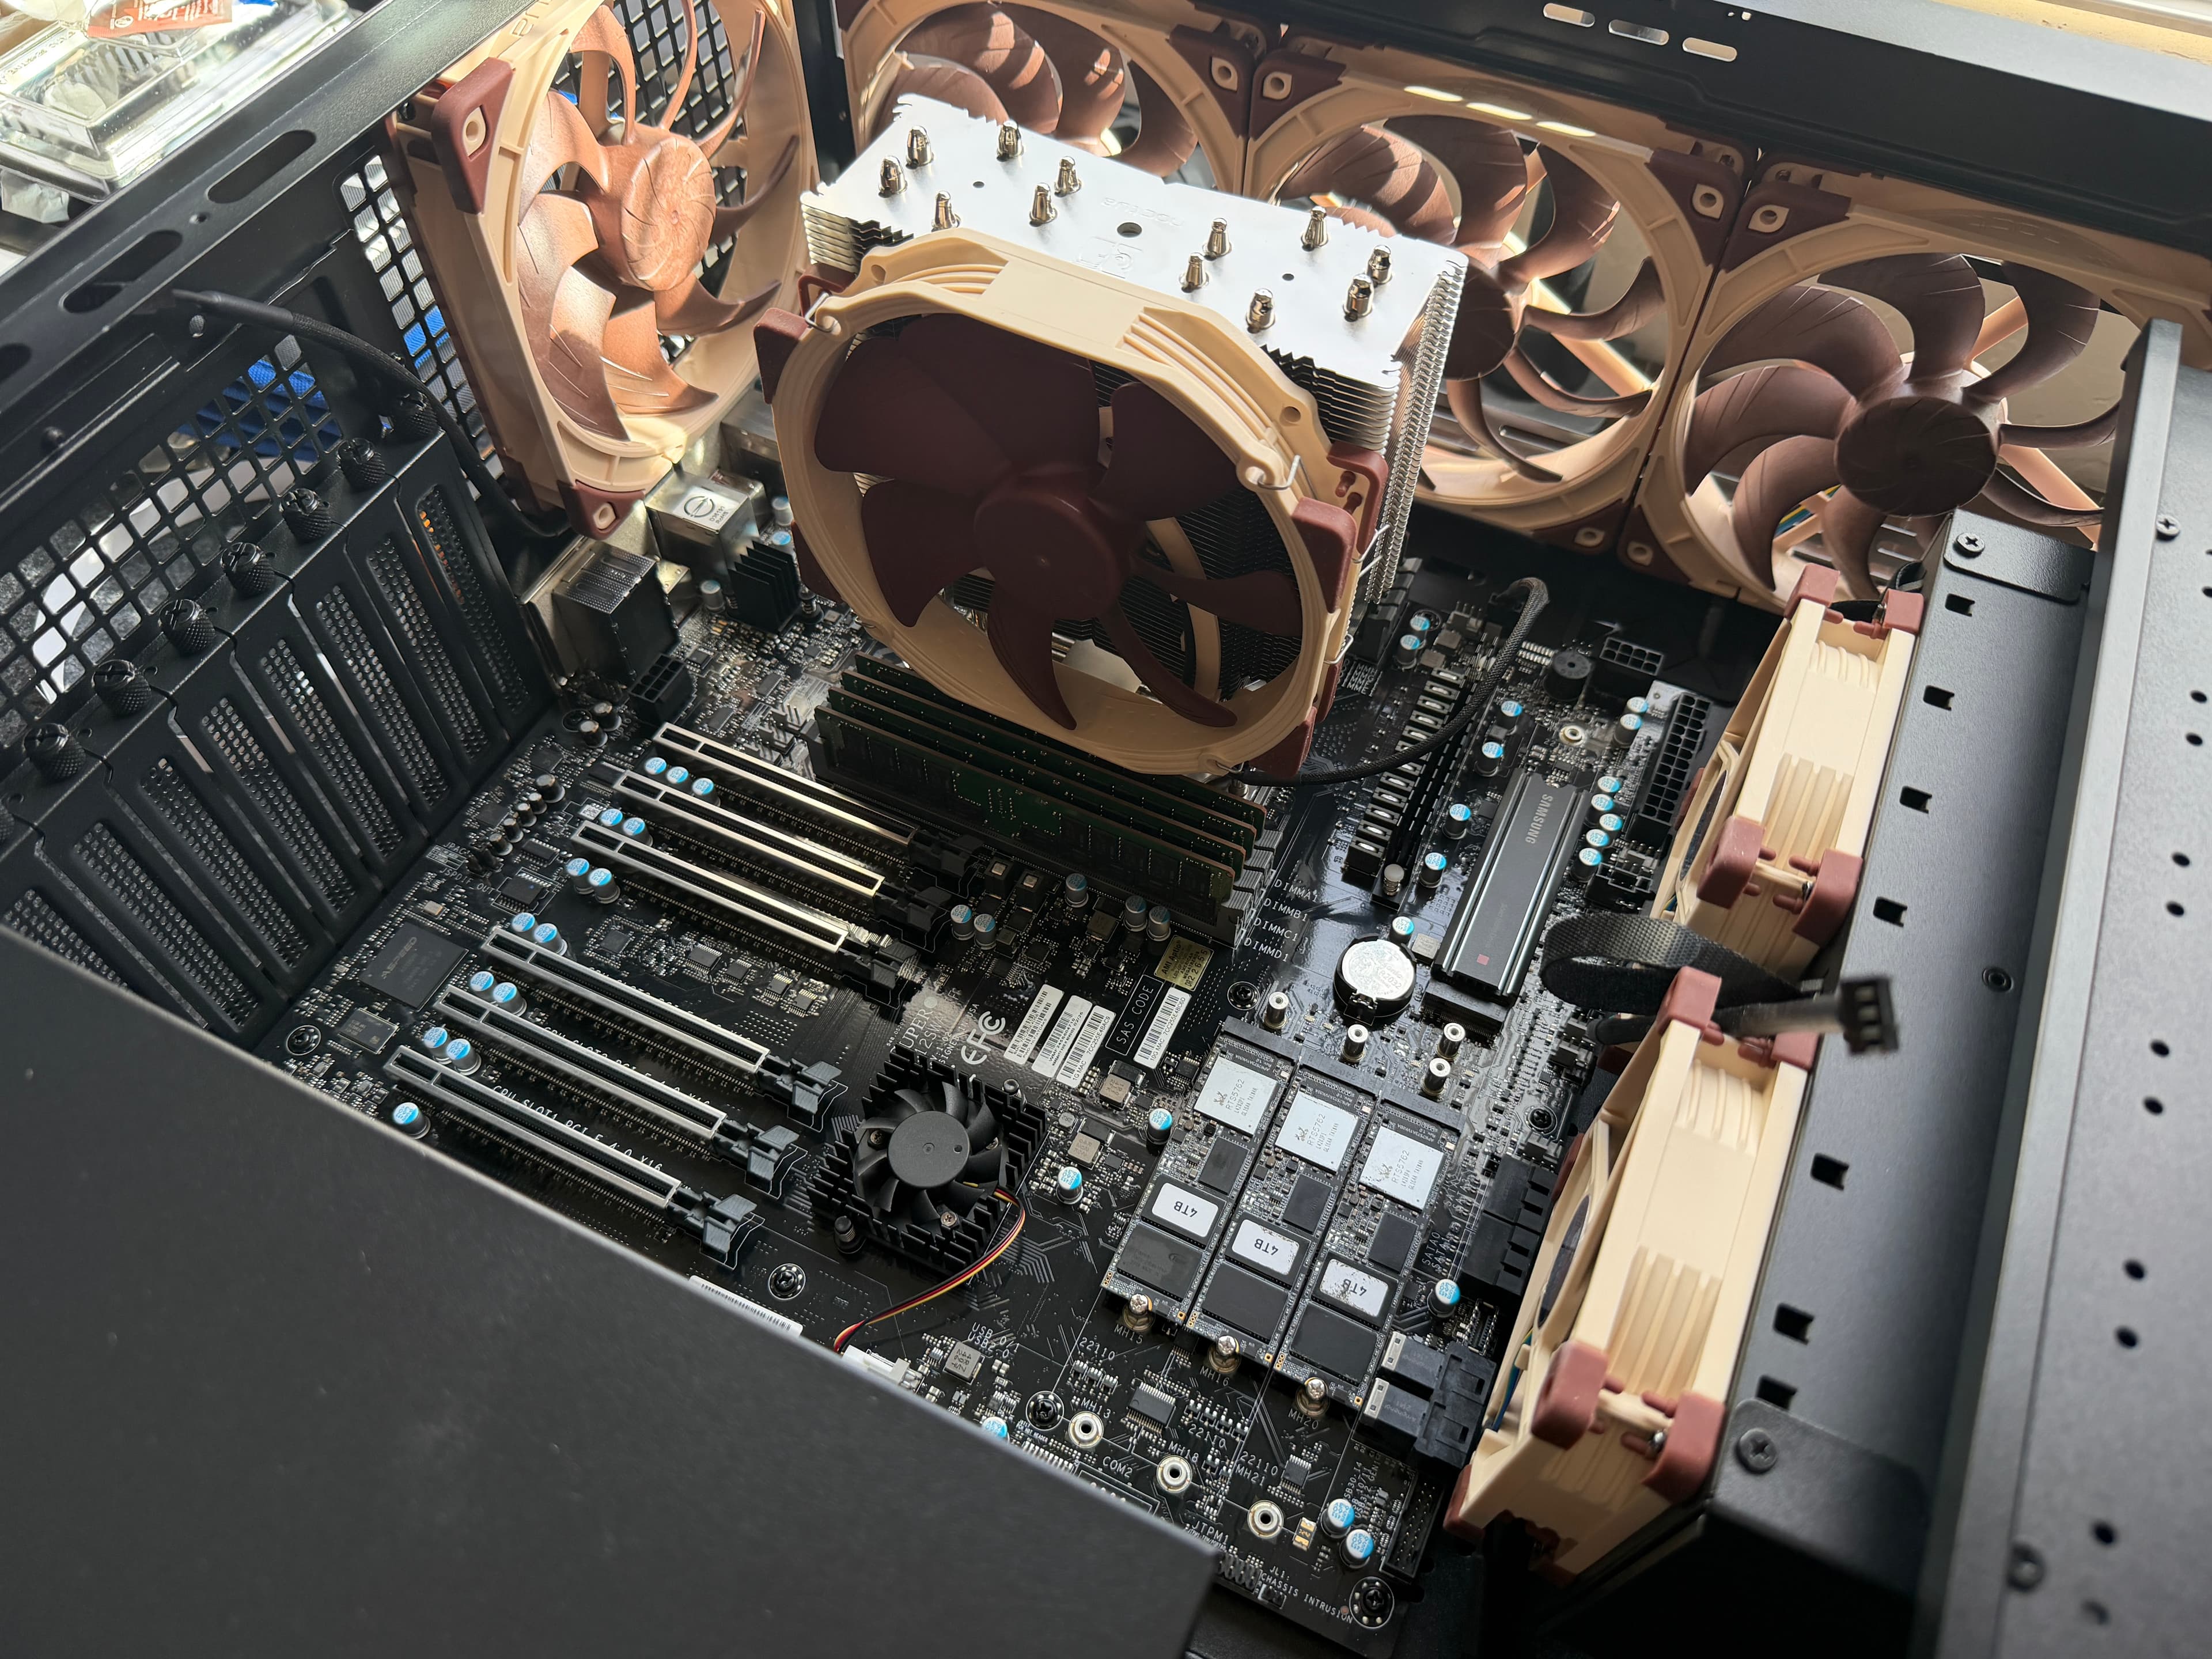
I ran into this on my SuperMicro M12SWA-TF (WRX80 chipset) running Proxmox VE 9.1.6 with a Threadripper PRO 3995WX. I replaced all the case fans with Noctua units — 4x NF-A14x25 G2 (140mm), 2x NF-A9 PWM (92mm), and a NH-U14S TR4-SP3 cooler with its included NF-A15. The fix took about 10 minutes and is one ipmitool command per fan sensor, plus a systemd service for persistence.
Prerequisites
- A SuperMicro motherboard with an ASPEED BMC (most SuperMicro boards have one)
- Linux installed on the host (this guide uses Proxmox/Debian, but any distro works)
- Root/sudo access
- IPMI kernel modules loaded (
ipmi_si,ipmi_devintf,ipmi_msghandler) — these are loaded by default on Proxmox and most server distros /dev/ipmi0present (the local IPMI device interface)
Note: You do NOT need BMC network access or the IPMI web UI for this fix. Everything runs locally through
/dev/ipmi0usingipmitool. No credentials needed for local access.
Verify IPMI Access
Before installing anything, confirm your system has local IPMI support. Check that the kernel modules are loaded:
lsmod | grep ipmiYou should see ipmi_si, ipmi_devintf, and ipmi_msghandler in the output. If they're missing, load them with modprobe ipmi_si && modprobe ipmi_devintf.
Confirm the IPMI device exists:
ls /dev/ipmi*This should show /dev/ipmi0. That's the local interface ipmitool uses to communicate with the BMC — no network required.
Install ipmitool
apt update && apt install -y ipmitoolipmitool is the standard CLI tool for IPMI management on Linux. It's in the default Debian/Ubuntu repos and is widely used for server management.
Check Current Fan Sensors
Now let's see what the BMC thinks about your fans:
ipmitool sensor list | grep -i fanThis shows every fan sensor, its current RPM reading, status, and threshold values. Here's what mine looked like before the fix:
FAN1             | 420.000    | RPM        | ok    | na | 280.000 | na | na | na | na
FAN2             | 560.000    | RPM        | ok    | na | 280.000 | na | na | na | na
FAN3             | na         |            | na    | na | na      | na | na | na | na
FAN4             | 420.000    | RPM        | ok    | na | 280.000 | na | na | na | na
FAN5             | na         |            | na    | na | na      | na | na | na | na
FAN6             | 420.000    | RPM        | ok    | na | 280.000 | na | na | na | na
FANA             | 280.000    | RPM        | cr    | na | 280.000 | na | na | na | na
FANB             | 280.000    | RPM        | cr    | na | 280.000 | na | na | na | na
FANC             | na         |            | na    | na | na      | na | na | na | na
FAND             | na         |            | na    | na | na      | na | na | na | na
PCH_FAN          | 3080.000   | RPM        | ok    | na | 280.000 | na | na | na | na
A few things to note:
- FANA and FANB show
cr(critical) — they're at exactly 280 RPM, right at the Lower Critical threshold of 280. This is what causes the cycling. - FAN1, FAN2, FAN4, FAN6 are at 420-560 RPM, above the threshold, so they show
ok. - FAN3, FAN5, FANC, FAND show
na— no fans connected to those headers. - PCH_FAN is the stock chipset fan at 3,080 RPM — well above the threshold, leave it alone.
The 280.000 in the sixth column is the Lower Critical (LC) threshold. That's the value we need to lower.
Lower the Fan Thresholds
For each fan sensor with a Noctua connected, lower the Lower Critical threshold to 50 RPM:
ipmitool sensor thresh FAN1 lcr 50
ipmitool sensor thresh FAN2 lcr 50
ipmitool sensor thresh FAN4 lcr 50
ipmitool sensor thresh FAN6 lcr 50
ipmitool sensor thresh FANA lcr 50
ipmitool sensor thresh FANB lcr 50The lcr parameter targets the Lower Critical threshold specifically. Setting it to 50 RPM means the BMC will only flag a fan as critical if it's essentially stopped — which is what you actually want to be alerted about.
Board-specific note: On the M12SWA-TF, only the Lower Critical (
lcr) threshold is settable. Trying to set LNR or LNC returns "Command illegal for specified sensor or record type." Other SuperMicro boards may support all three lower thresholds — check which values show asnain your sensor output to see what's available on your board.
Why 50 RPM? Noctua fans typically idle at 280-500 RPM. Setting the threshold to 50 gives plenty of headroom. Some guides suggest 200 or 150, but going lower is safer — you don't want the threshold anywhere near normal idle speed.
Verify the Fix
Run the sensor list again:
ipmitool sensor list | grep -i fanConfirm that:
- All fan sensors now show the new threshold (may display as
0.000due to BMC sensor granularity rounding — that's normal) - Status shows
okinstead ofcr - RPM readings are stable
Listen to the fans — they should stay at a consistent quiet speed without ramping.
If Fans Are Still Loud After Fixing Thresholds
This is a gotcha that most guides don't cover. After lowering the thresholds, your fans might stop cycling but still run at full speed. The sensors all show ok, temps are fine, but the fans are screaming at 1400+ RPM.
This happened to me. The issue was the System Event Log (SEL). After months of fan cycling, the BMC had logged thousands of critical assert/deassert events — every 3-6 seconds, 24/7. The SEL filled up (4,096 entries, the maximum) and overflowed. This caused the BMC to lock into a defensive high-duty-cycle state, running all fans at 100% regardless of temperature.
Check your fan duty cycles:
# Zone 0 (CPU) duty cycle — hex value, 0x64 = 100%
ipmitool raw 0x30 0x70 0x66 0x00 0x00

# Zone 1 (peripheral) duty cycle
ipmitool raw 0x30 0x70 0x66 0x00 0x01If both return 64 (hex for 100), the BMC is pinned at max.
Check the SEL status:
ipmitool sel infoLook for Overflow: true and Free Space: 0 bytes.
The fix is to clear the SEL and warm-reset the BMC:
ipmitool sel clear
ipmitool bmc reset warmThe BMC warm reset only restarts the BMC's embedded controller — it does NOT affect the host OS, Proxmox, or any running VMs and containers. During the reset (~15 seconds), ipmitool sensor list will show na for all sensors. Once it comes back, the fan controller recalculates duty cycles based on actual temperatures.
After the reset, check the duty cycles again:
ipmitool raw 0x30 0x70 0x66 0x00 0x00  # Should be ~20-40%, not 64
ipmitool raw 0x30 0x70 0x66 0x00 0x01  # Same
ipmitool sensor list | grep -i fan # RPMs should be much lowerMy fans dropped from 1400 RPM to 420 RPM (140mm) and 280 RPM (92mm) — duty cycles went from 100% to around 28% and 20%.
Make It Persistent
BMC threshold changes survive host reboots, but they can reset after BMC firmware updates or BMC cold resets. Create a systemd service to re-apply the thresholds at every boot:
cat > /etc/systemd/system/fan-threshold.service << 'EOF'
[Unit]
Description=Set Noctua-safe fan thresholds in IPMI BMC
After=network.target

[Service]
Type=oneshot
ExecStart=/usr/bin/ipmitool sensor thresh FAN1 lcr 50
ExecStart=/usr/bin/ipmitool sensor thresh FAN2 lcr 50
ExecStart=/usr/bin/ipmitool sensor thresh FAN4 lcr 50
ExecStart=/usr/bin/ipmitool sensor thresh FAN6 lcr 50
ExecStart=/usr/bin/ipmitool sensor thresh FANA lcr 50
ExecStart=/usr/bin/ipmitool sensor thresh FANB lcr 50
ExecStart=/usr/bin/ipmitool sel clear
RemainAfterExit=yes

[Install]
WantedBy=multi-user.target
EOFAdjust the ExecStart lines to match your fan sensor names from the earlier scan. Then enable it:
systemctl daemon-reload
systemctl enable fan-threshold.serviceThe sel clear at the end is a preventive measure — it clears any fan events that accumulated during boot before the thresholds were applied, preventing the SEL overflow problem from recurring.
Sync the BMC Clock (Optional)
The BMC has its own real-time clock that's independent of the host OS. On a new board, it's usually set to a factory default — your SEL timestamps might show dates from months ago even though the board is brand new.
# Check current BMC time
ipmitool sel time get

# Sync to host time
ipmitool sel time set 'now'The BMC stores time as UTC internally. The now keyword sends the host's current UTC epoch. The BMC may display timestamps with a hardcoded timezone label (like "MST") even though the stored value is UTC — that's a common SuperMicro quirk, not an actual offset.
SuperMicro Fan Modes
SuperMicro BMCs have several fan control modes you can check and set via raw IPMI commands:
# Read current fan mode
ipmitool raw 0x30 0x45 0x00| Value | Mode | Description |
|---|---|---|
| 00 | Standard | Conservative, temp-based ramping |
| 01 | Full | All fans at 100% (loud) |
| 02 | Optimal | Balanced — best for Noctua fans |
| 04 | Heavy I/O | Aggressive cooling for storage workloads |
Optimal mode (0x02) with lowered thresholds is the recommended combo for Noctua fans. The BMC adjusts duty cycle proportionally based on temperature, keeping fans quiet when temps are low and ramping only when needed.
To set the fan mode:
ipmitool raw 0x30 0x45 0x01 0x02 # Set to OptimalWrap-Up
The full fix comes down to three things: lower the BMC fan thresholds so Noctua's idle RPMs aren't flagged as critical, clear the SEL if it's overflowed from past cycling events, and create a systemd service so the settings survive BMC resets. After that, your Noctua fans will run at the quiet speeds they were designed for, and the BMC will only alert you if a fan actually stops spinning.